VMware
Connecting Hawkeye to your VMware account allows us to collect telemetry data, including infrastructure metrics, logs, and events.
This integration helps monitor your VMware environment in real-time through the Hawkeye dashboard.
To connect with Hawkeye, you will authenticate using a VMware API Token, Client ID, and Endpoint.
Step 1: Setup VMware integration
To retrieve these credentials, you’ll need to set up a VMware integration. Follow these steps to obtain your VMware credentials:
-
Navigate to VMware API access: Sign in to your VMware account and go to the API Access section.
-
Create API Token: Click on Create API Token. This will generate a token for authentication.
-
Generate Client ID: Go to Applications and click on Create Application. Name your application and generate a Client ID and Client Secret.
-
Retrieve Endpoint: In your VMware settings, find the API Endpoint URL for your instance. This is often under the Network & Security or Settings tab.
-
Copy Credentials: Make sure to copy the API Token, Client ID, and Endpoint URL securely, as you’ll need them for the Hawkeye integration.
Step 2: Add VMware Connection to Hawkeye
Now that you have the VMware API Token, Client ID, and Endpoint, you can add the connection to the Hawkeye dashboard.
-
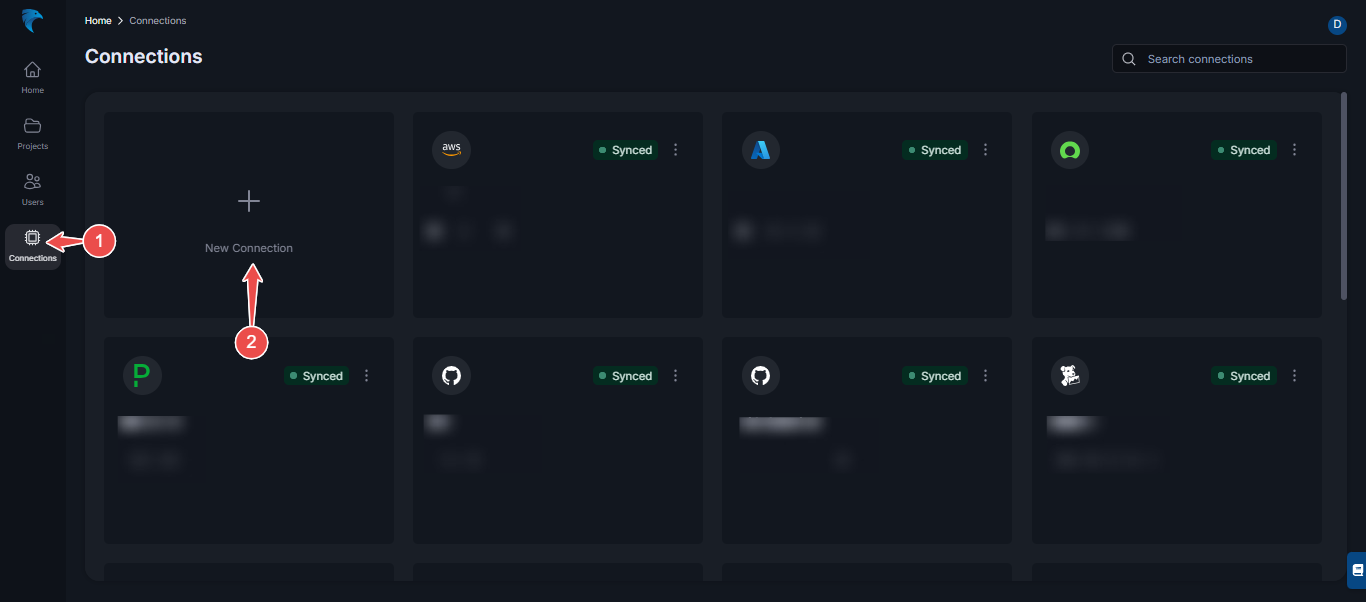
Navigate to the Connections Tab: In the Hawkeye dashboard, go to the Connections section and click on New Connection.

Fig.1 - Add VMware connection to Hawkeye
-
Select VMware: From the list of available integrations, select VMware and click Next.
-
Enter Credentials: Provide the following credentials:
- Name: Give your connection a descriptive name.
- Description: Optionally, add a description for the integration.
- API Token: Paste the API Token you generated from VMware.
- Client ID: Enter the Client ID you created.
- Endpoint: Enter the Endpoint URL you retrieved.
Click Save to complete the setup.
-
Verify Connection: Once the connection is successfully established, return to the connections section in Hawkeye. You should see the VMware connection displayed on your dashboard.