Azure DevOps
Connecting Hawkeye to your Azure DevOps account allows us to collect telemetry data such as build logs, pipelines, repositories, and deployment details, enabling real-time monitoring through the Hawkeye dashboard.
The following steps will help you set up this connection:
Step 1: Create a Service Principal
To setup an Azure DevOps integration on Hawkeye, you first need to create a service principal. This will create credentials that you’ll need in completing this integration.
To create this, follow the first and second steps in the Azure connection guide.
Step 2: Setup Azure DevOps Integration
Fig.1 - A walkthrough of how to setup Azure DevOps integration in Hawkeye
After creating the service principal, you need to grant it access to your Azure DevOps organization.
-
Navigate to Azure DevOps Organization: Log in to your Azure DevOps account and navigate to the organization where you want to grant access.
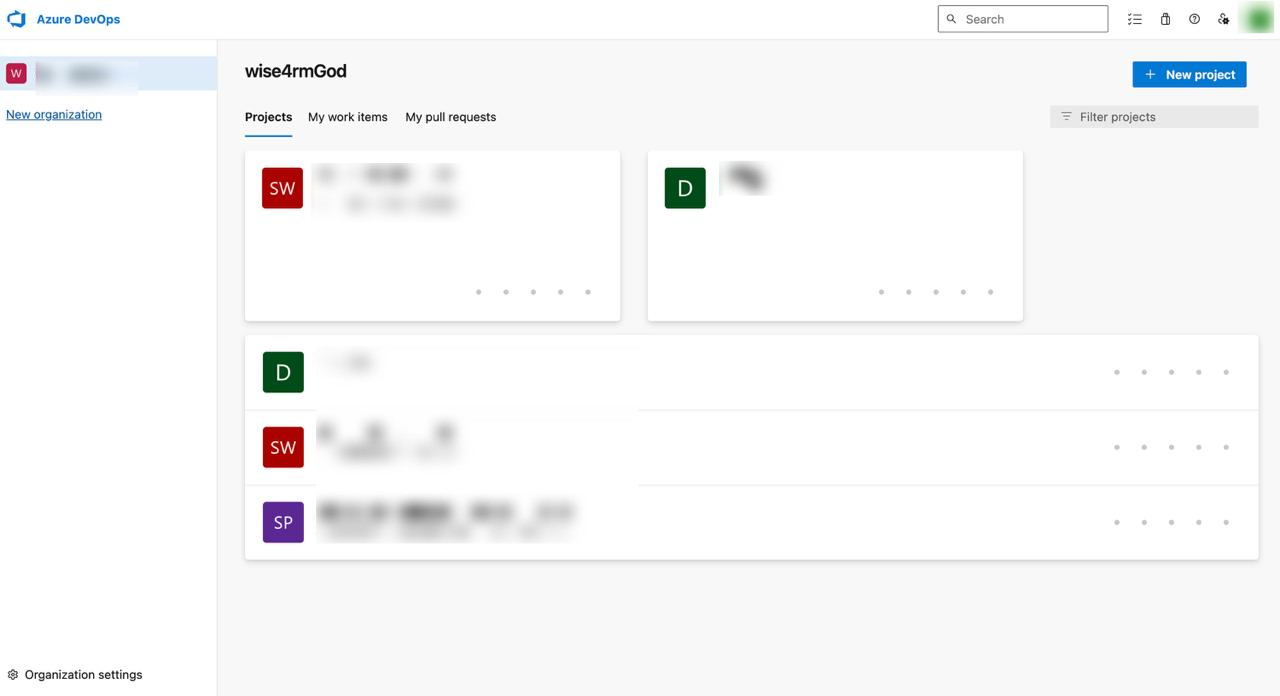
Fig.2 - Azure DevOps verify connection
-
Go to Organization Settings: In the lower left corner, select Organization Settings.
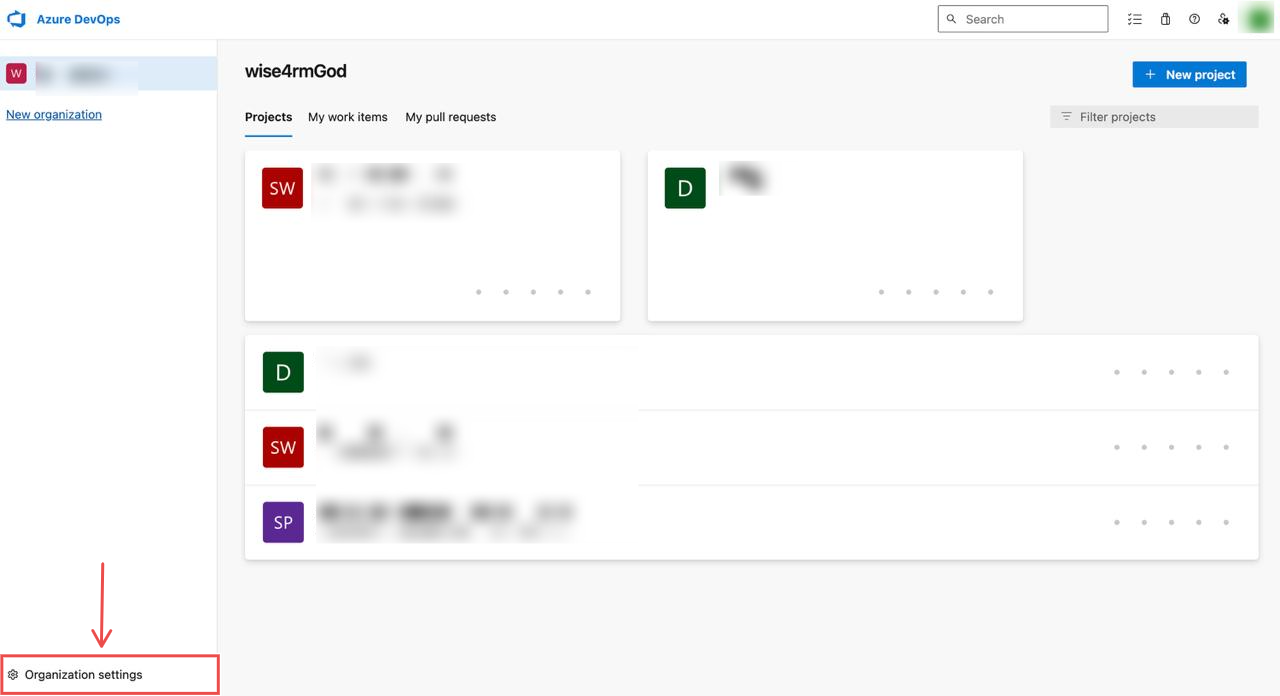
Fig.3 - Azure DevOps Organization settings
-
Add Service Principal to Users: In the left sidebar, click Users and then select Add Users.
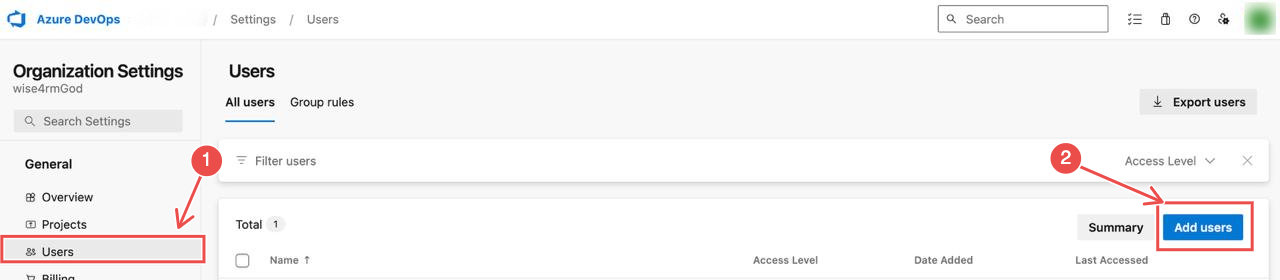
Fig.4 - Add service principal to users
-
Grant Access to Projects: Add the Service Principal to the specific projects you want Hawkeye to access. This ensures Hawkeye can retrieve the necessary telemetry.
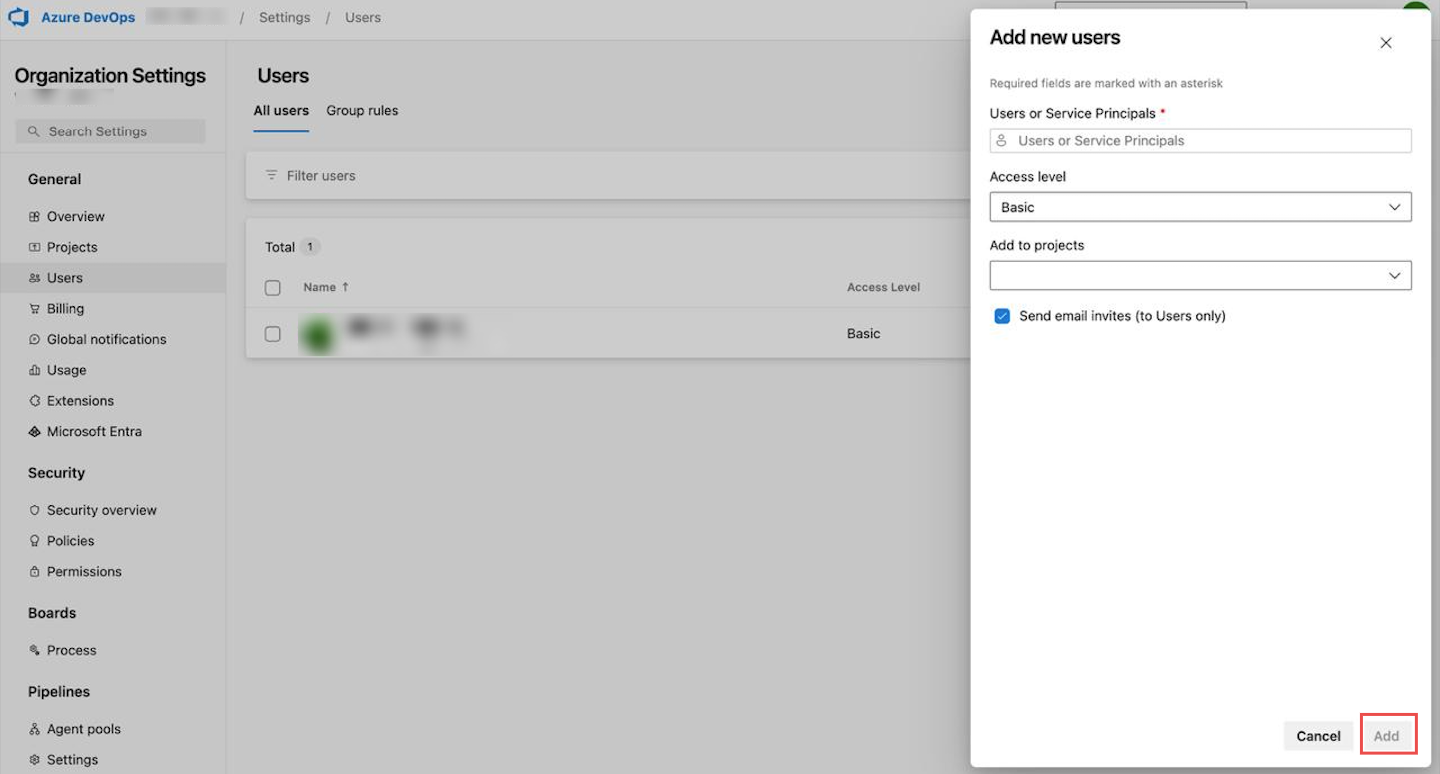
Fig.5 - Grant Hawkeye access to projects
After adding these details, click the Add button.
Step 3: Configure your Azure DevOps connection in Hawkeye
Fig.6 - A walkthrough of how to configure Azure DevOps connection in Hawkeye
Now that you have the necessary credentials, proceed to the Hawkeye dashboard to complete the connection setup:
-
Open Hawkeye dashboard: Navigate to the Connections section of the Hawkeye dashboard and click the New Connection card.

Fig.7 - Create new AzureDevOps connection dashboard
-
Create a New Connection: From the available list, select Azure DevOps and this page will open.
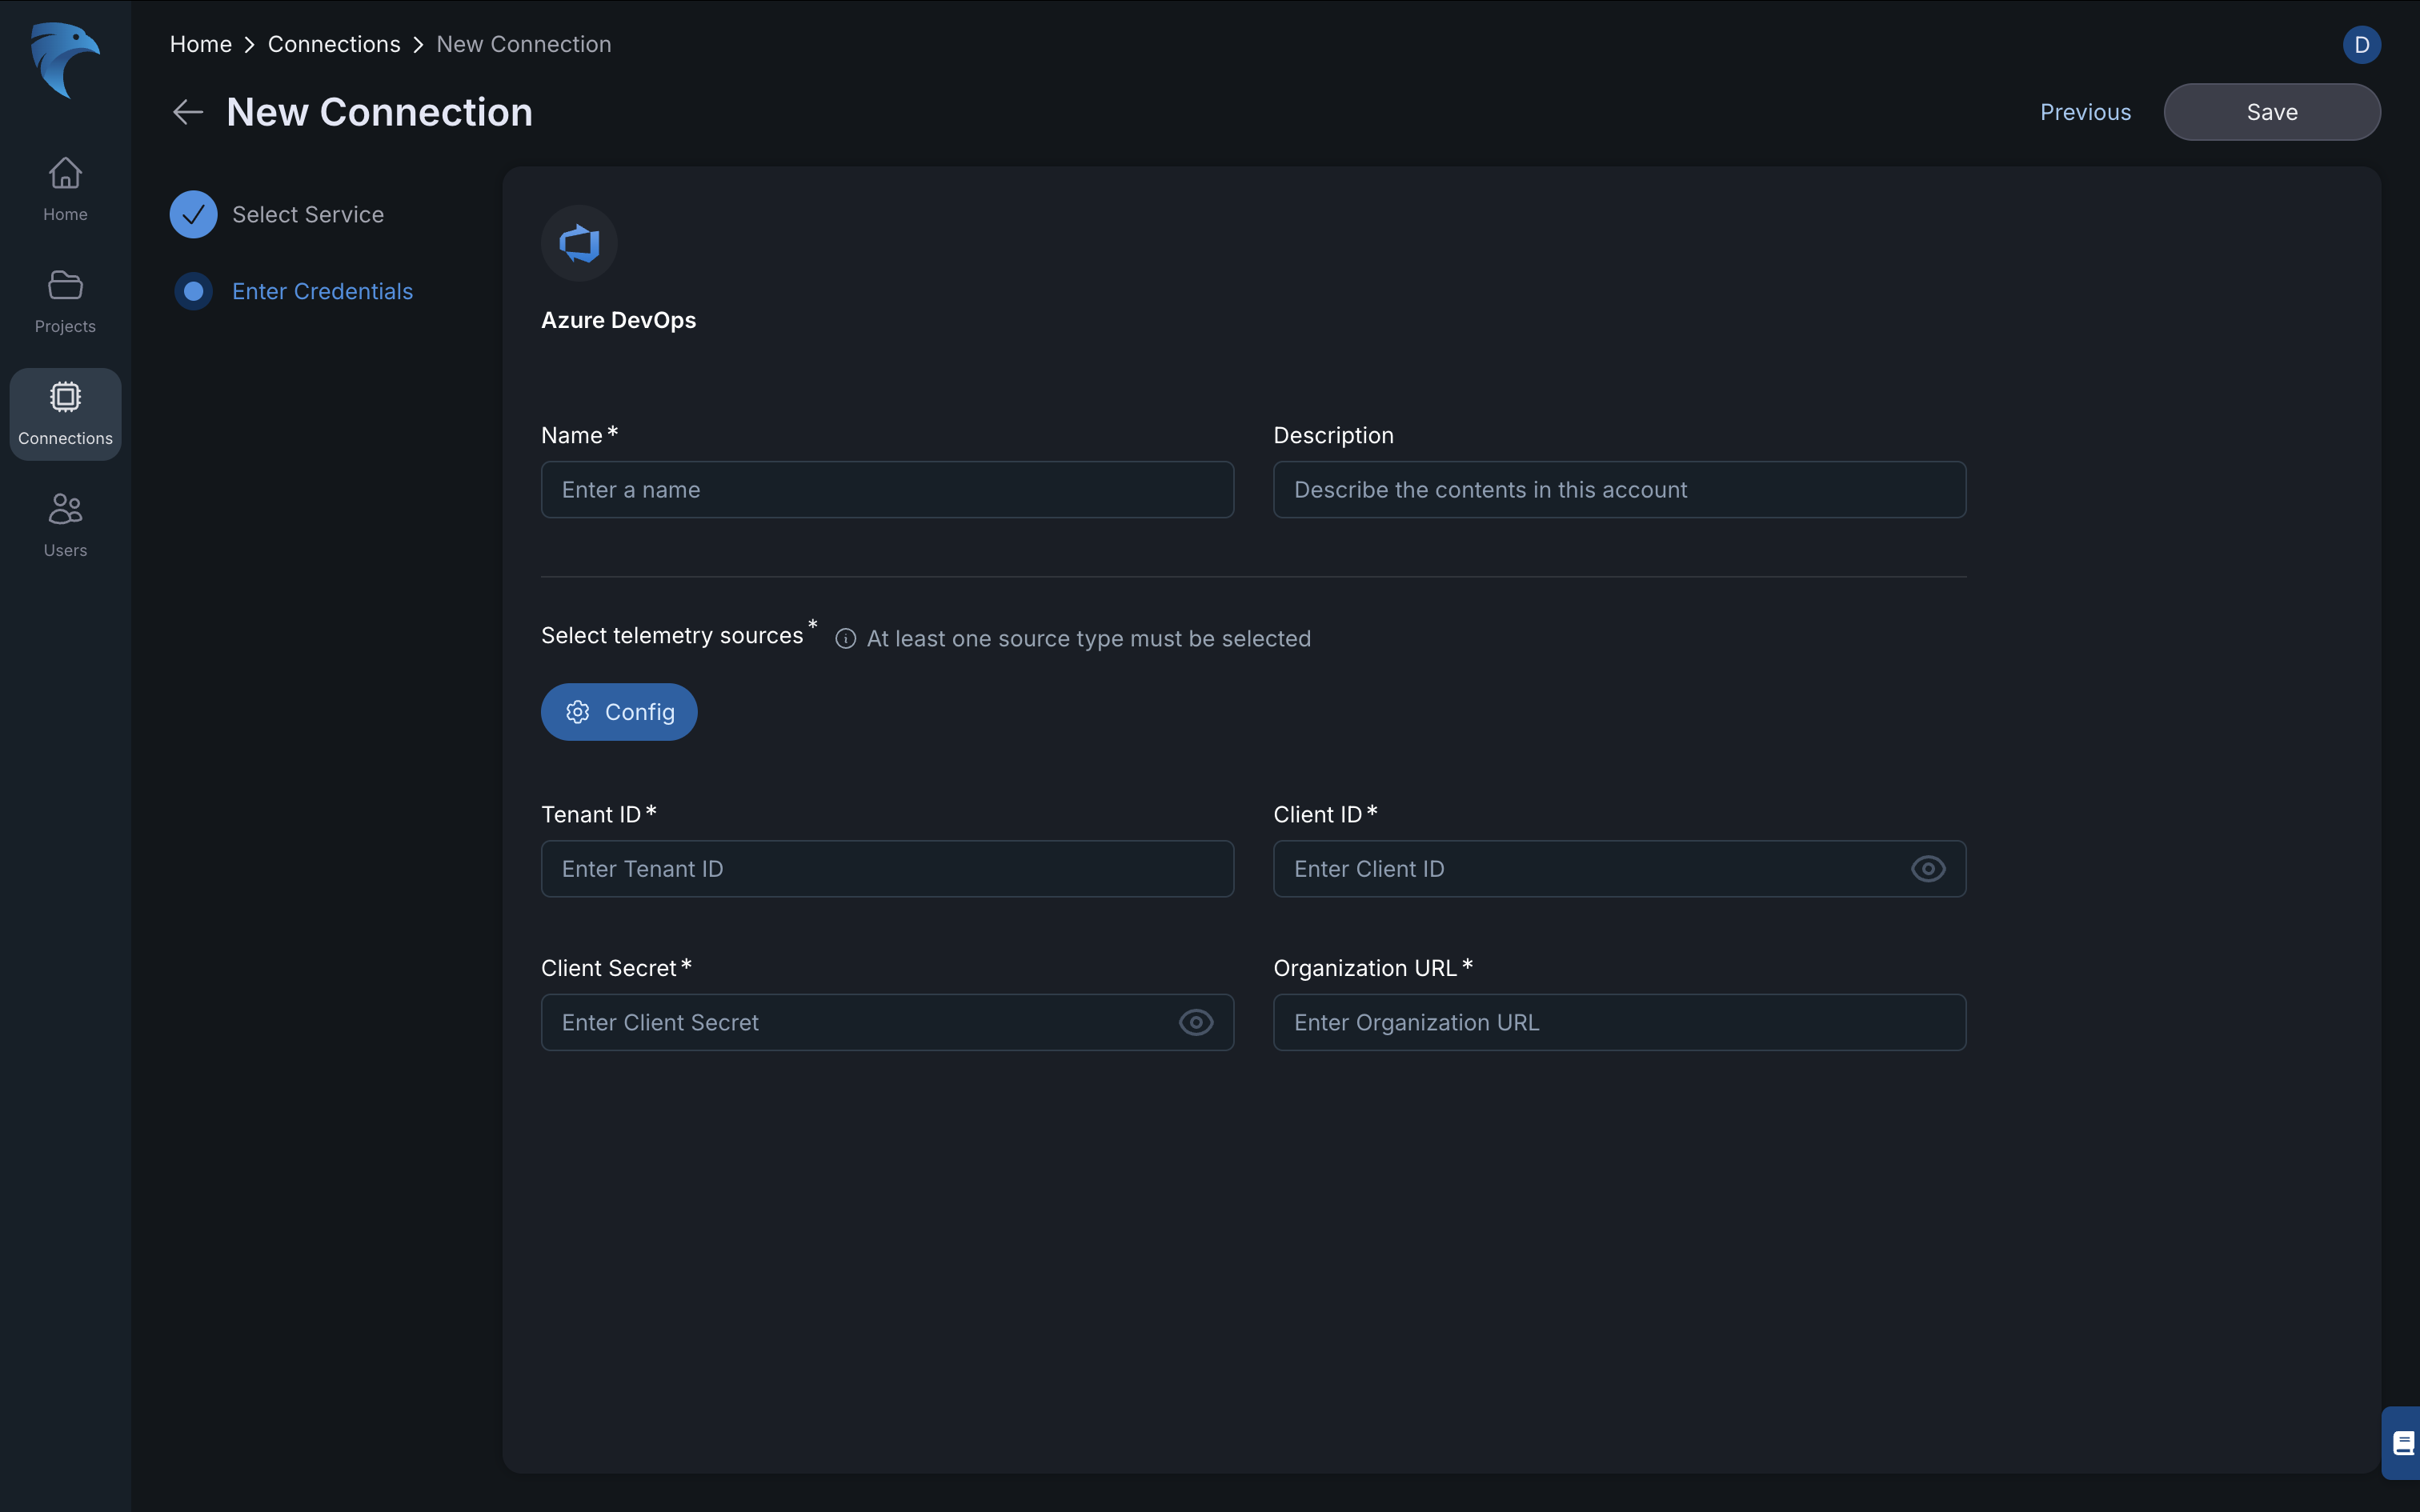
Fig.8 - Select Azure DevOps
Enter the required credentials:
-
Name: Provide a name for your connection.
-
Description: Optionally, add a description for the integration.
-
Tenant ID: Your Azure tenant ID.
-
Client ID: The client ID from your registered application.
-
Client Secret: The secret you created.
-
Organization URL: The URL of the Azure DevOps organization you integrated with in step 2. The organization URL is typically in the format
https://dev.azure.com/your-org-name.
Once you’ve entered all the details, click Save to establish the connection.
-
-
Confirm connection: To confirm that your connection was successfully created, navigate to the Connections tab and you should see a card like this:
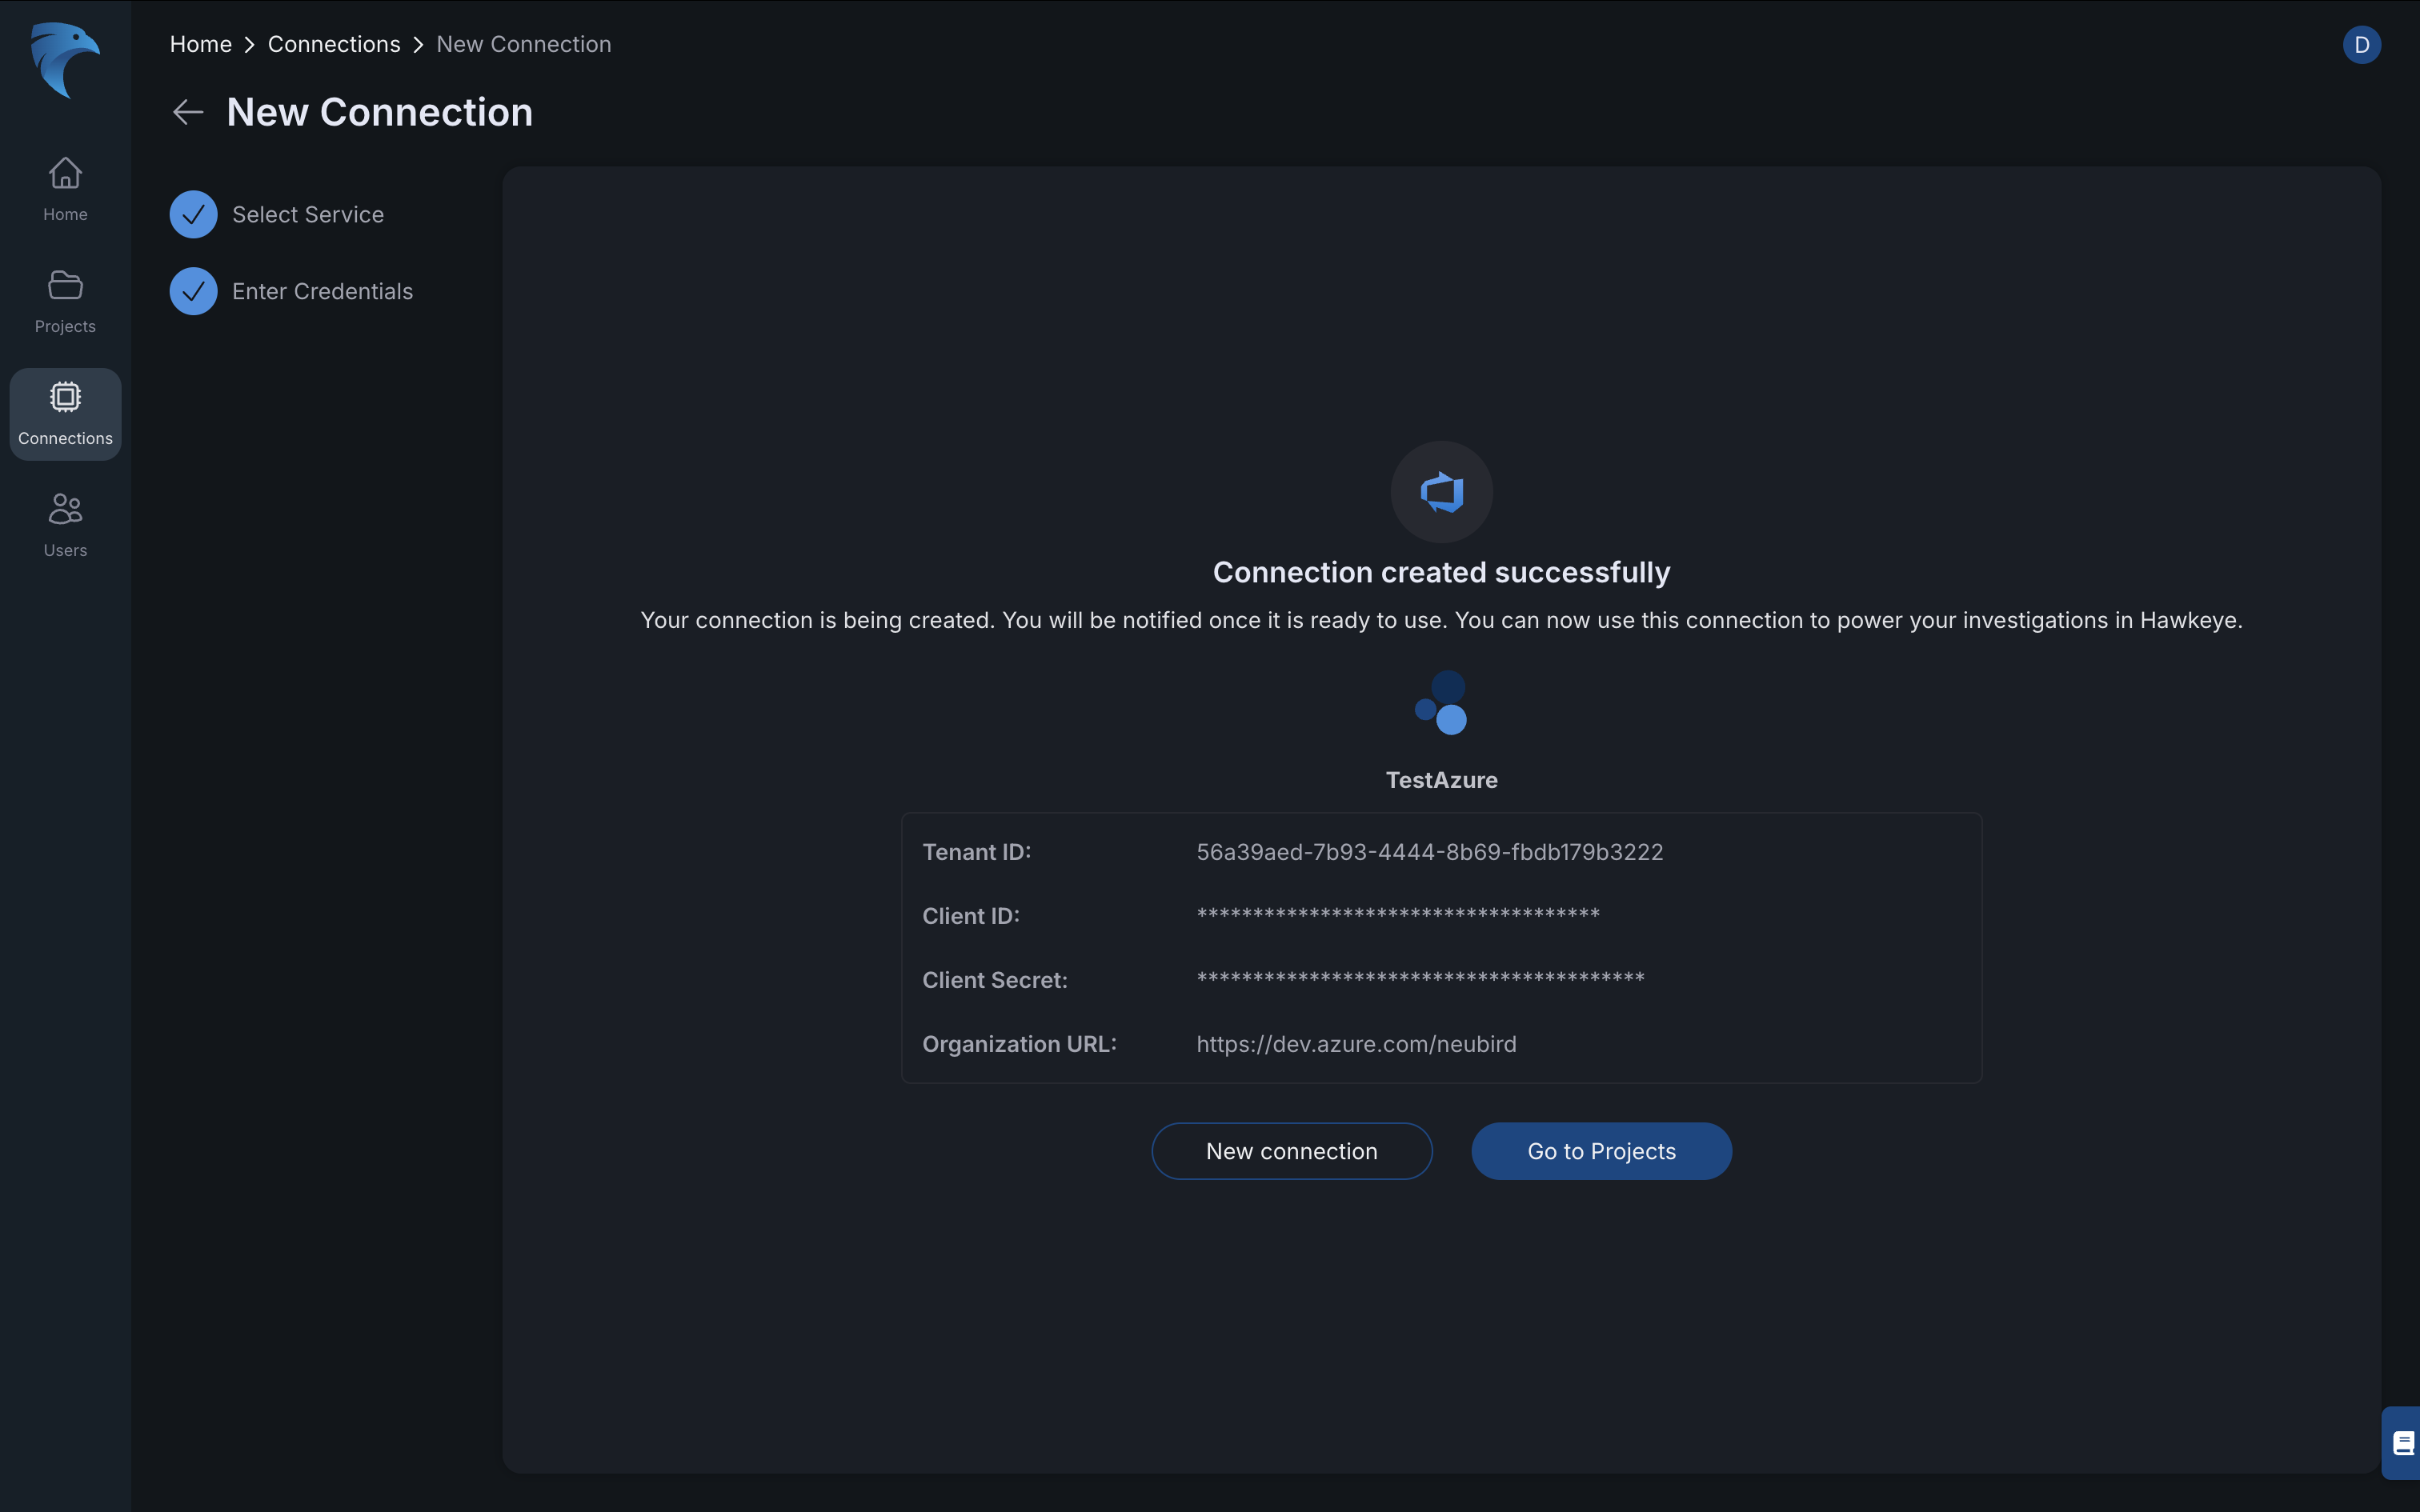
Fig.9 - Confirm Azure Connection success