Quick Start
Let’s start setting up your environment so you can begin using Hawkeye to monitor your resources and start an investigation session.
Demo
Fig.1 - A walkthrough of how to setup and run a Hawkeye project
Quick Start Guide
To set up an investigation session, you’ll need to go through the following steps:
Step 1: Setting up a connection
To start, you’ll need to create a connection to your cloud resources, allowing Hawkeye to pull in telemetry data.
-
Access connections: From the left-hand navigation menu, click on Connections and click the New Connection card.
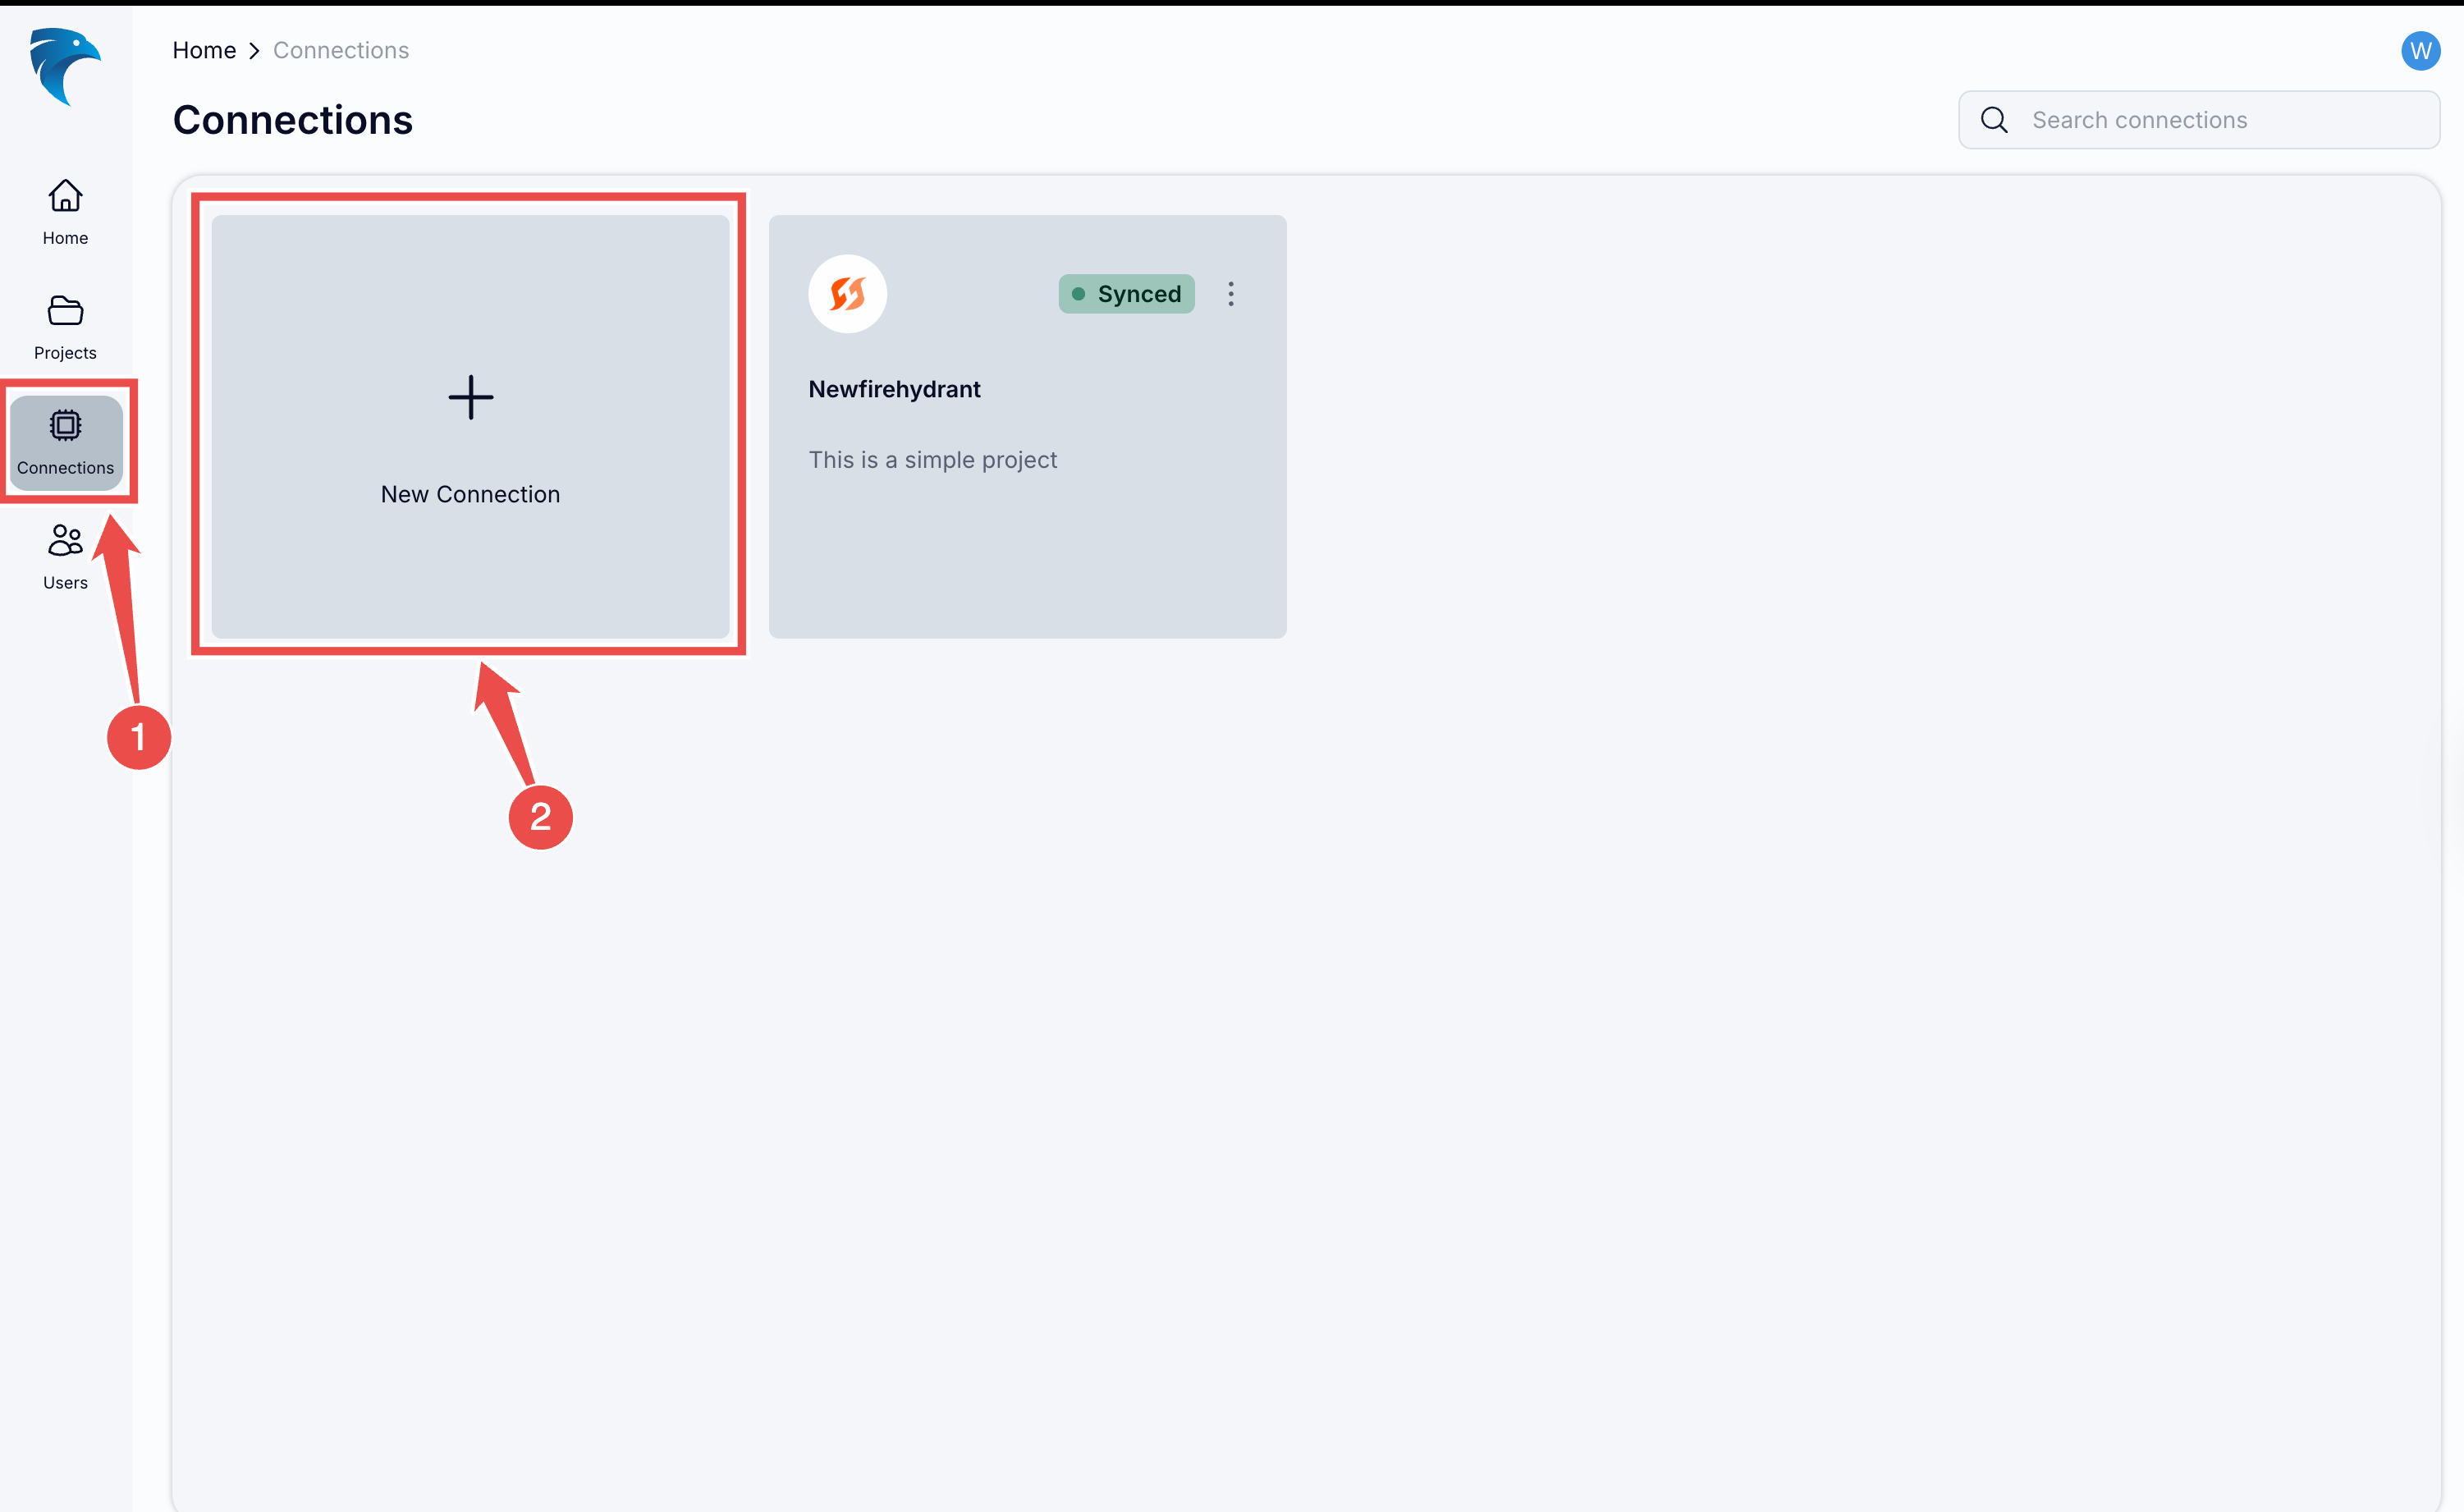
Fig.2 - Access connections
-
Create a new connection:
Select the connection type you want to create (AWS, Azure, GCP, etc.). Clicking on it will open the credential setup page.
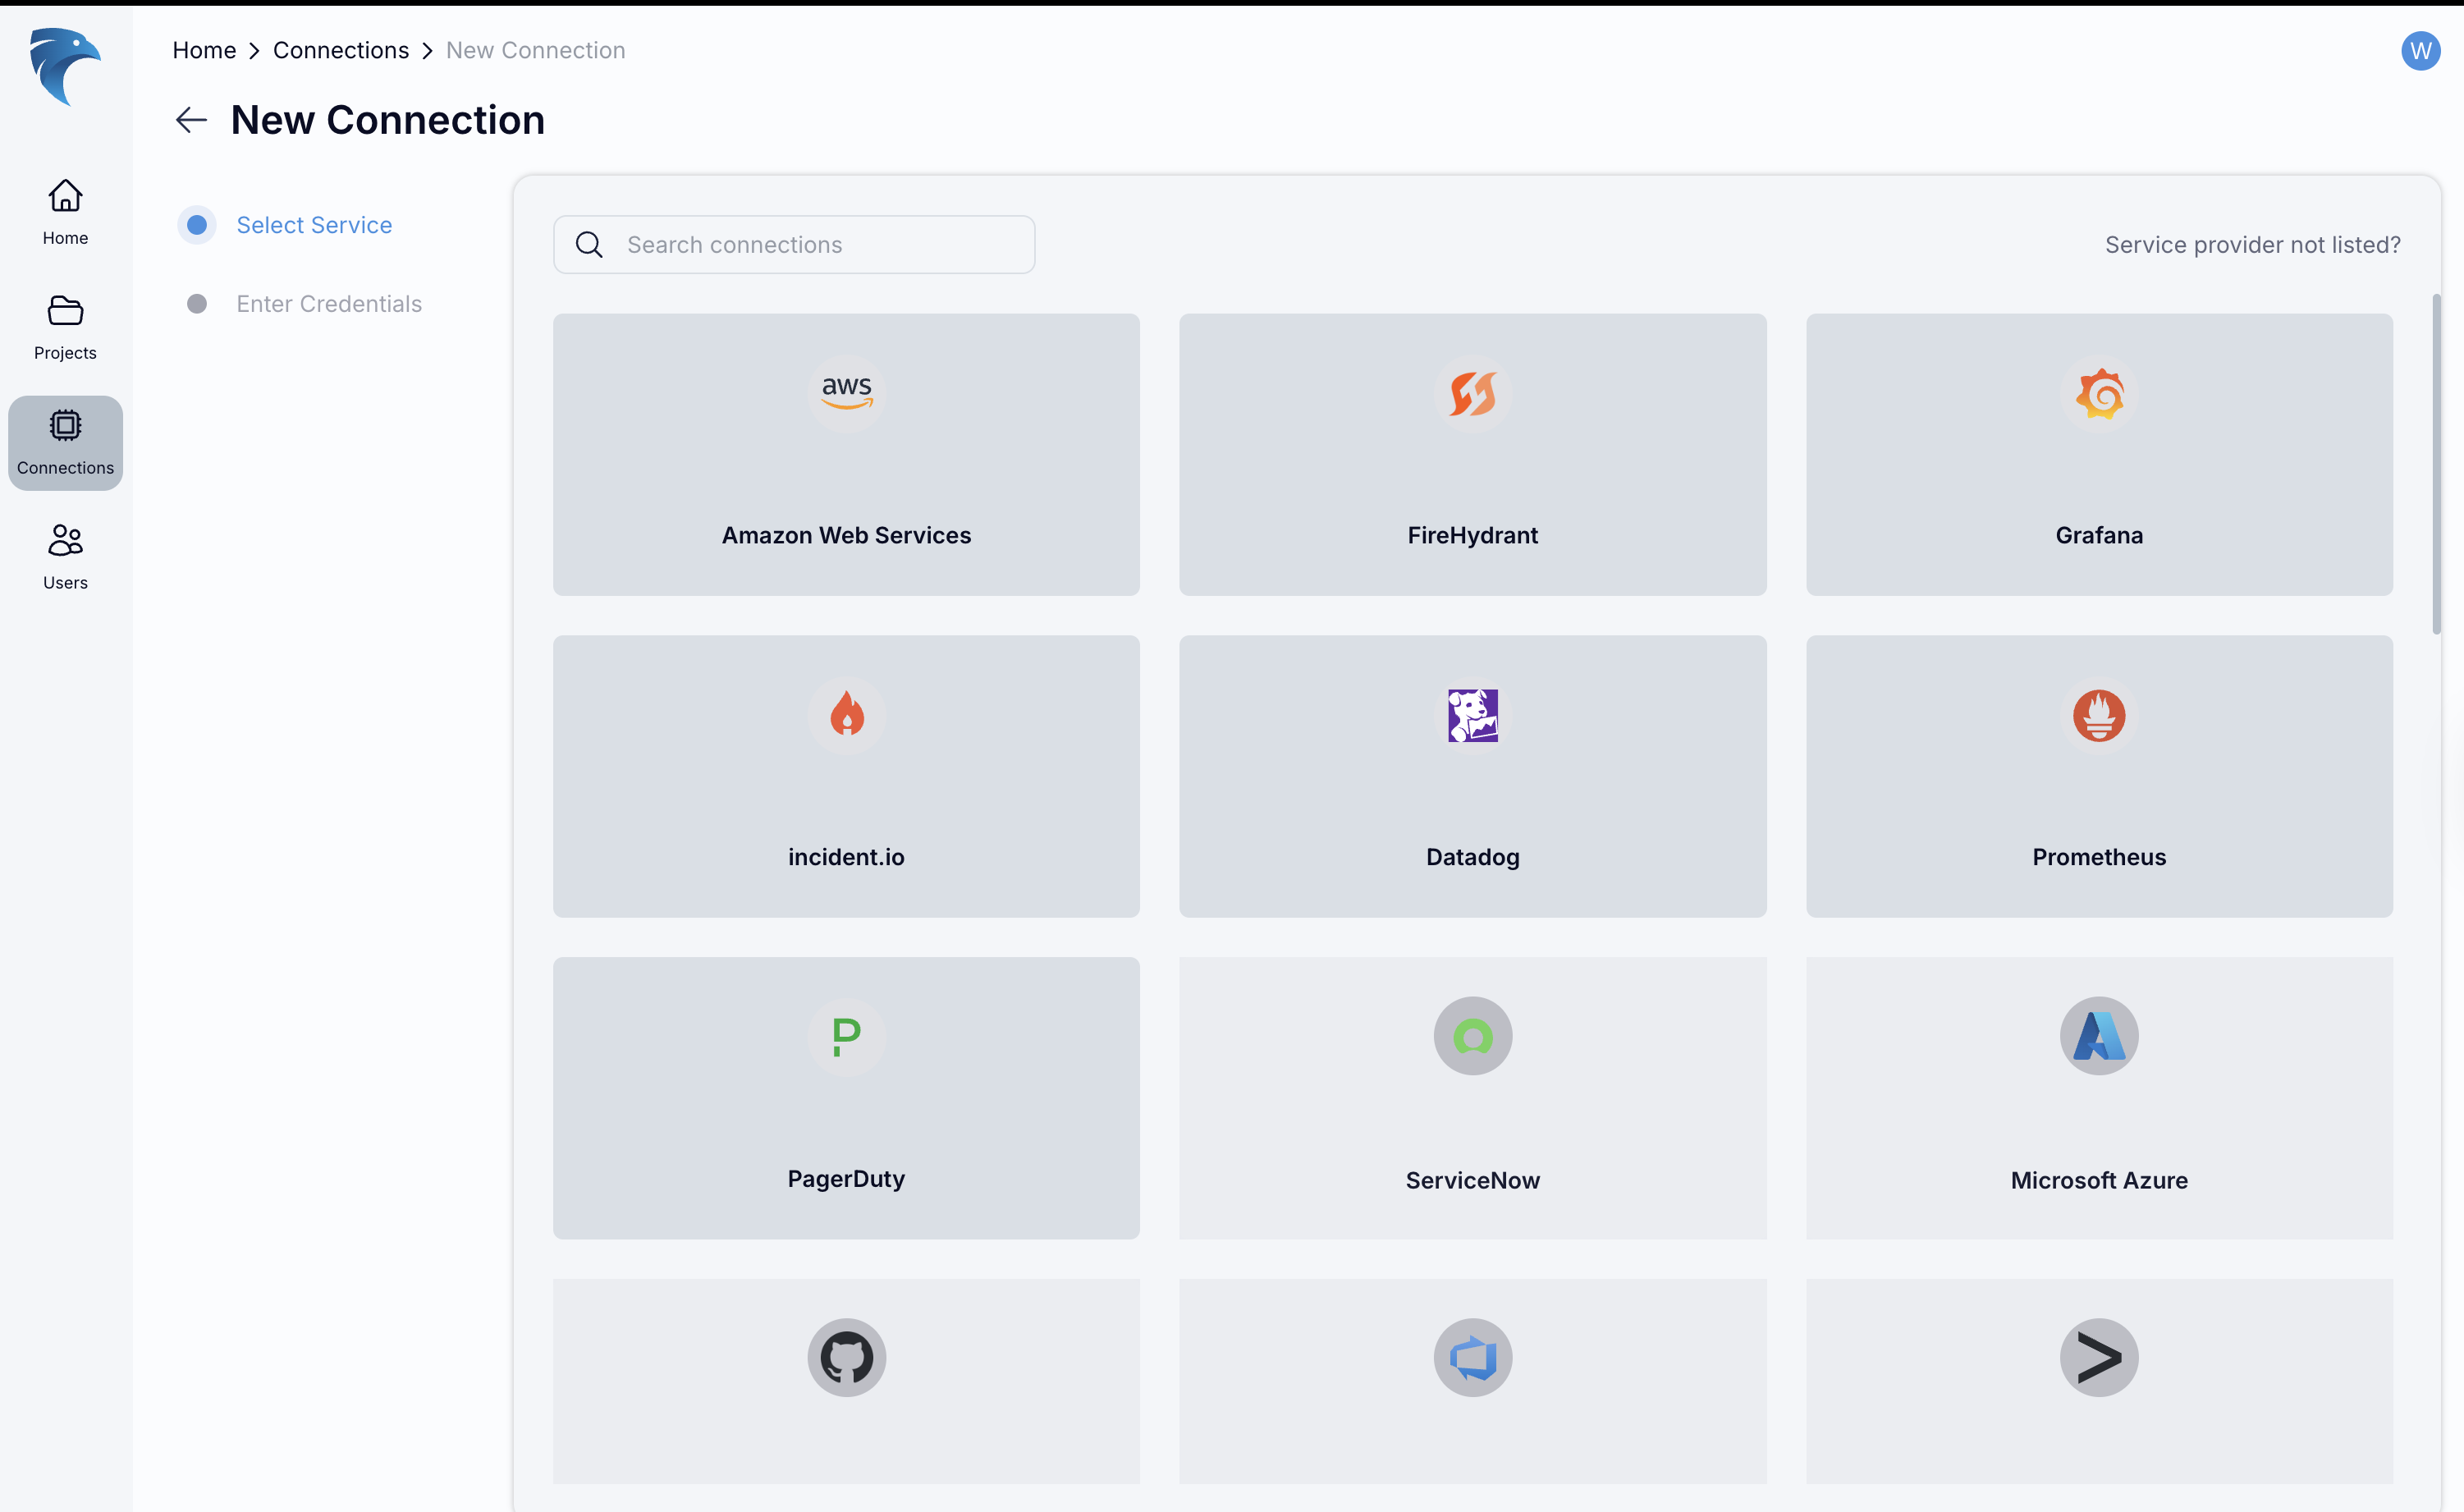
Fig.3 - Choose the type of connection
-
On the credentials page, enter the required details, as shown in this FireHydrant example. When you’re done, click Save to create the connection.
-
After saving, you’ll see a confirmation message: “Connection created successfully.”
-
Step 2: Setting up a project
With a connection established, the next step is to set up a project.
Navigate to Projects:
After saving the connection, you’ll be prompted to create a project.
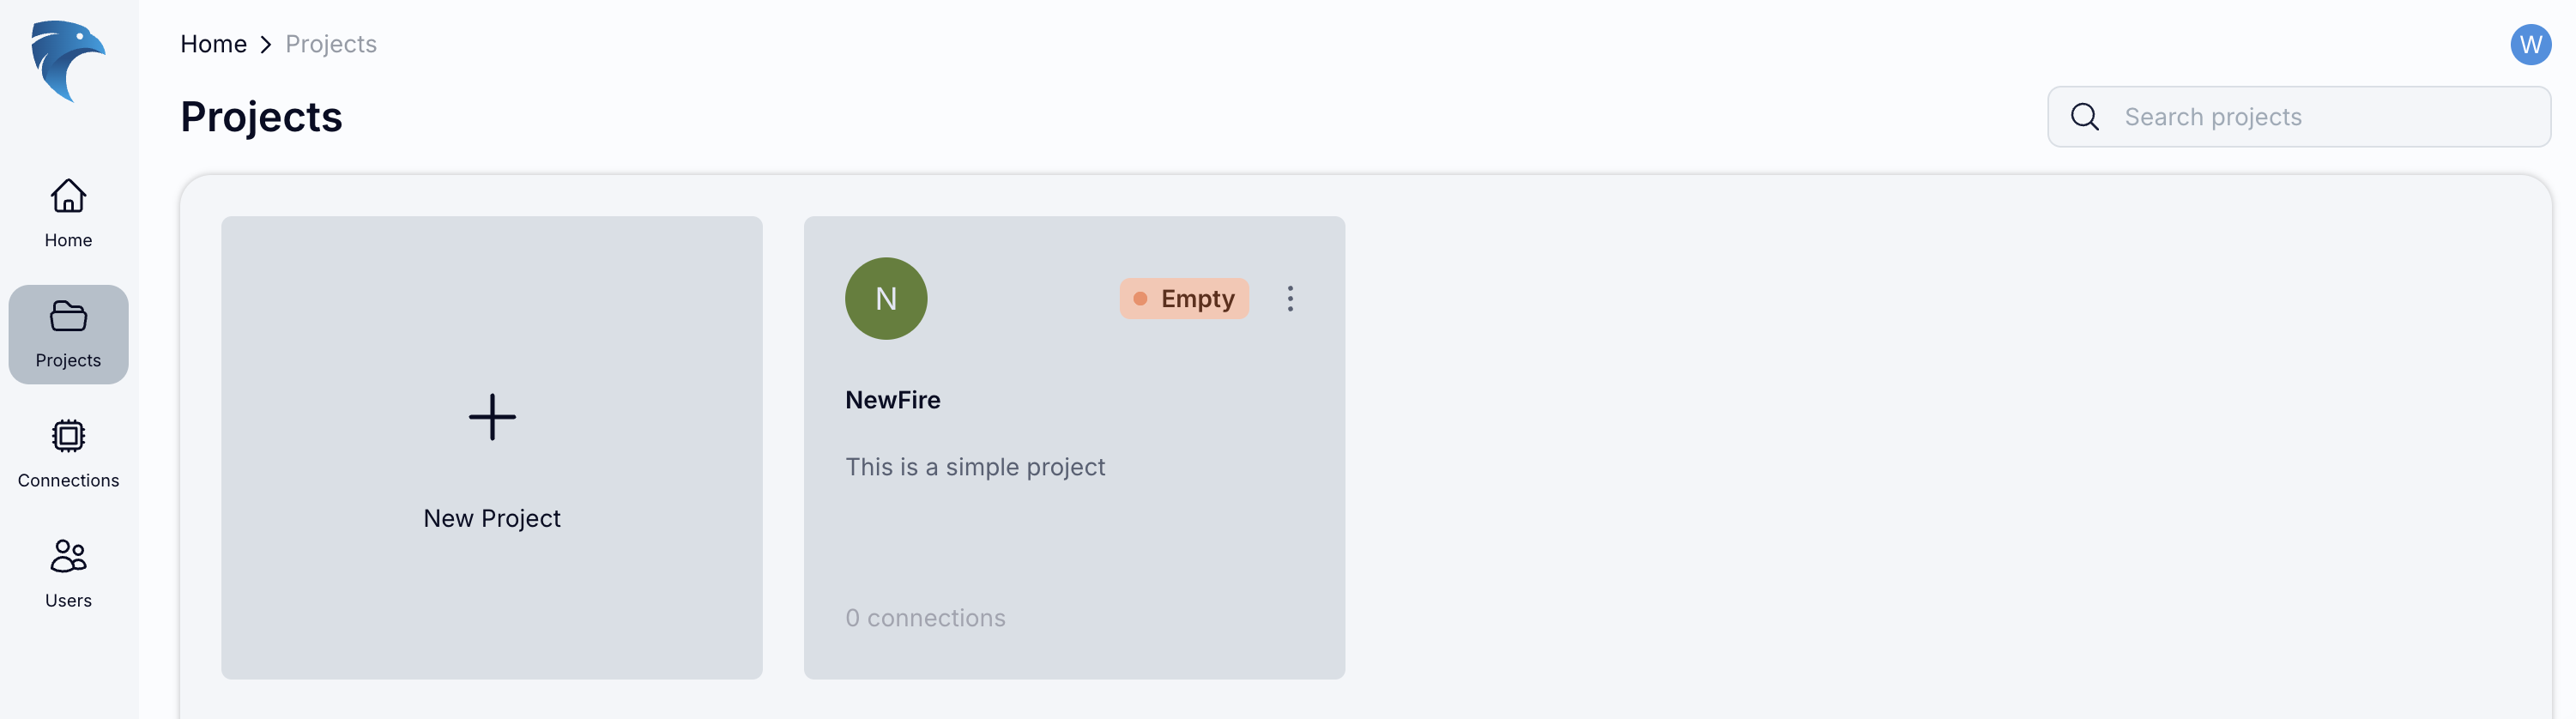
Fig.4 - Navigate to projects
- Click the New Project card.
- Enter the project name and description, and choose a badge color.
- Select the connection you created earlier.
- Confirm the project details and click Save.
Alternatively, you can navigate to the Projects section from the left-hand menu.
Step 4: Start a session for investigation
After your project has been successfully created, a new session will start automatically, allowing you to begin interacting with Hawkeye.
Alternatively, you can start a session manually: go to the Project section, select your project.
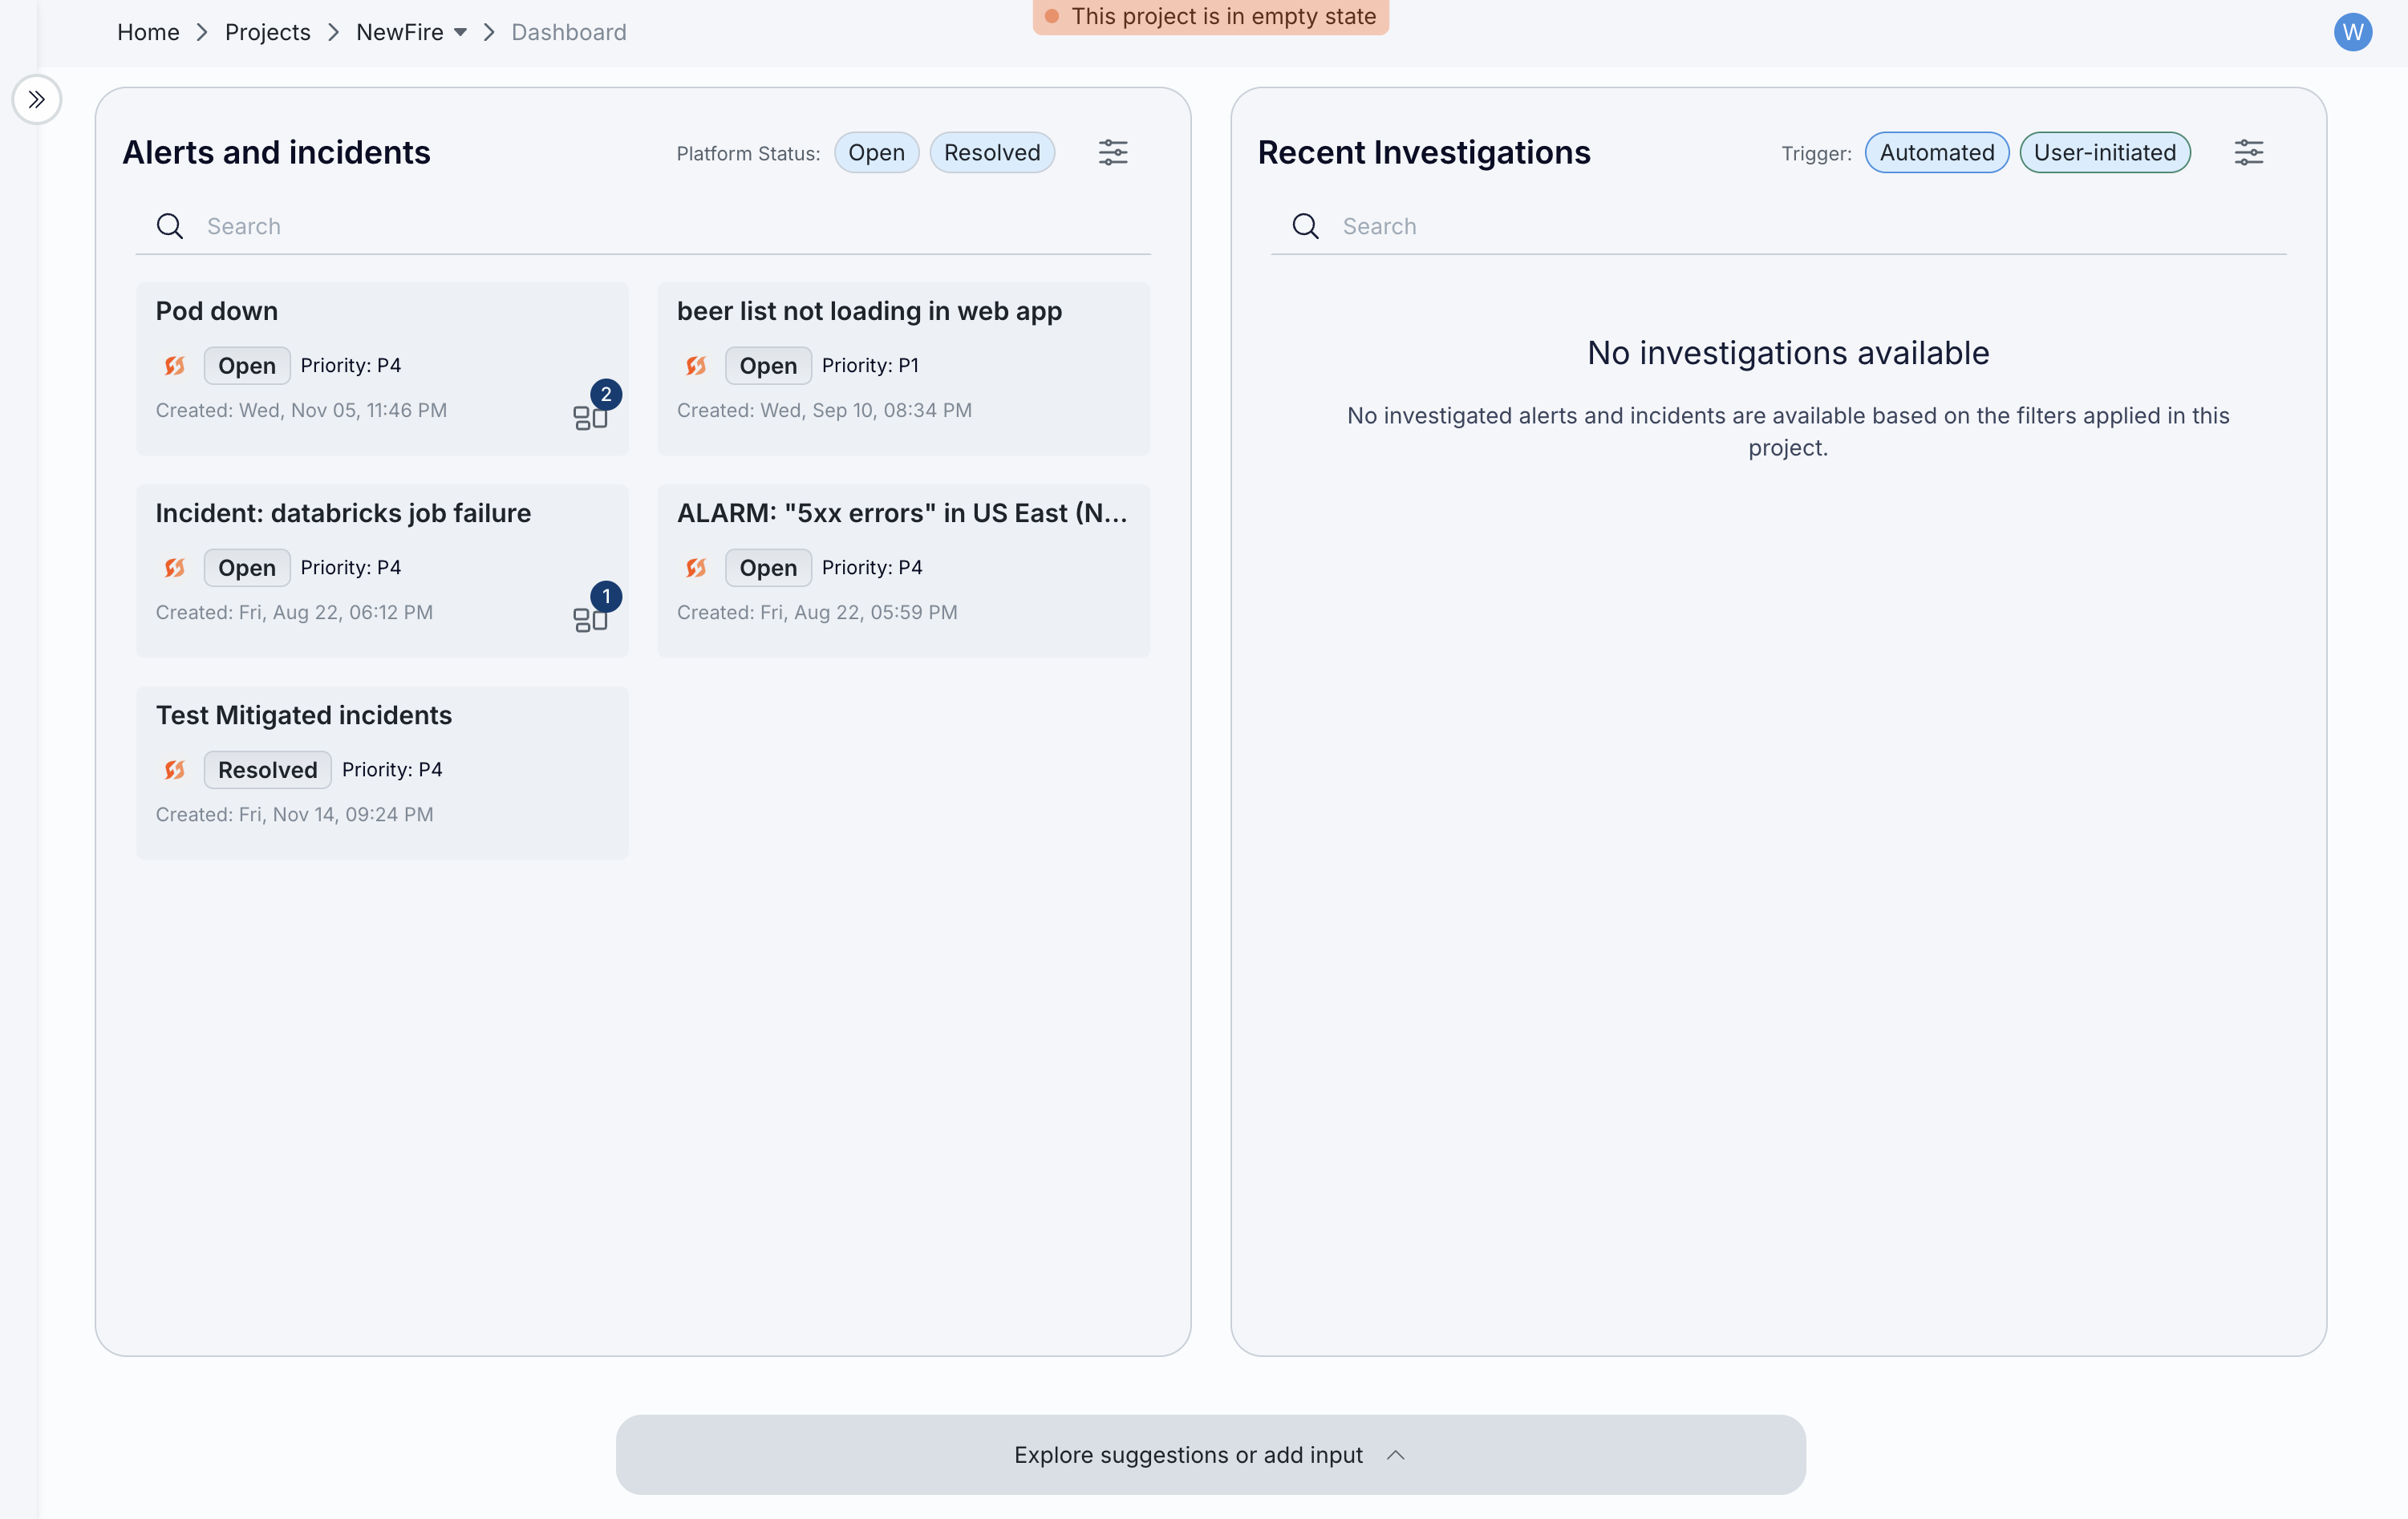
Fig.5 - Start a new session