Dynatrace
Connecting Hawkeye to your Dynatrace account allows us to collect telemetry data, such as service performance, environment metrics, and application health.
This data enables real-time monitoring and insights into the performance of your applications running on Dynatrace.
Step 1: Generate a Dynatrace API Key
To authorize Hawkeye to access your Dynatrace data, you need to create an API key with appropriate permissions.
-
Log in to Dynatrace: Access your Dynatrace environment using your credentials.
-
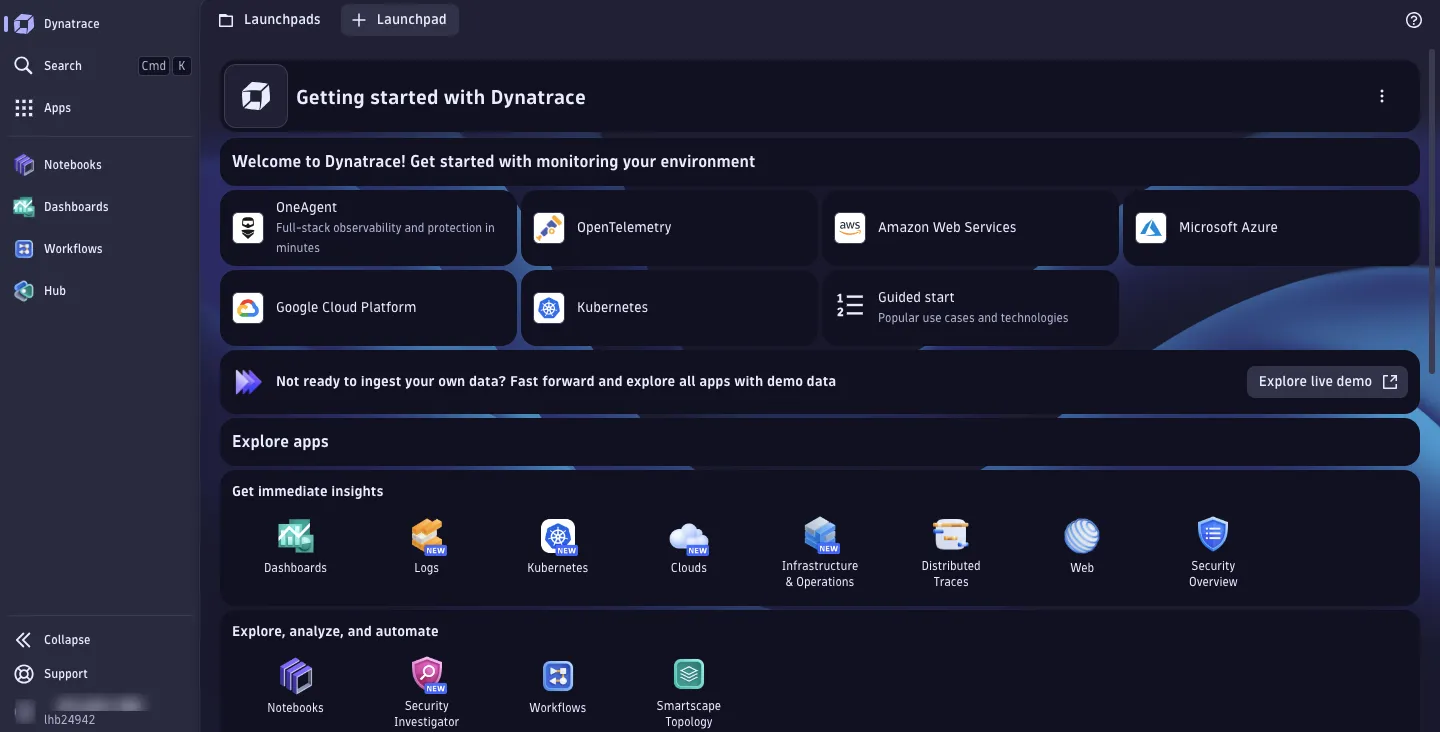
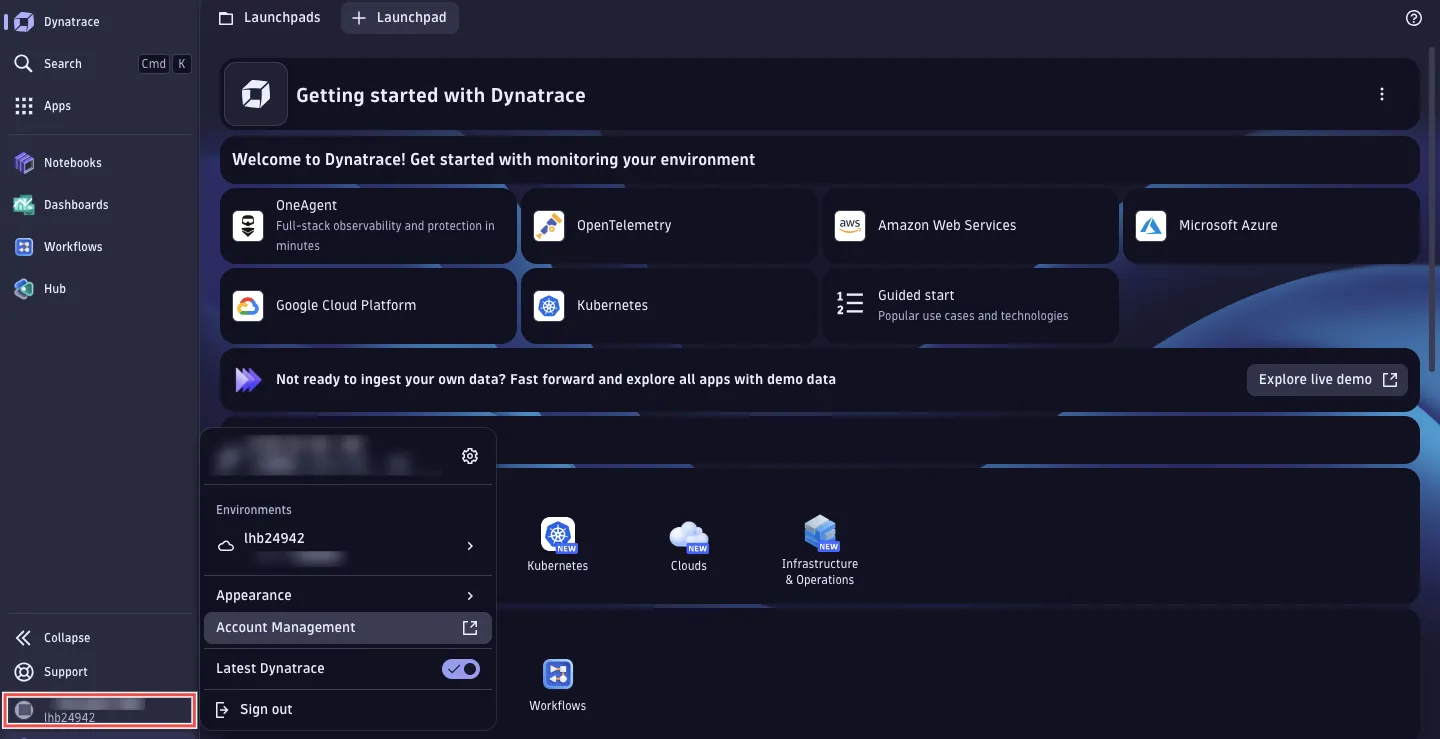
Navigate to Account Management: In the Dynatrace dashboard, click on your name icon at the left bottom corner of your sidebar and select Account Management.
-
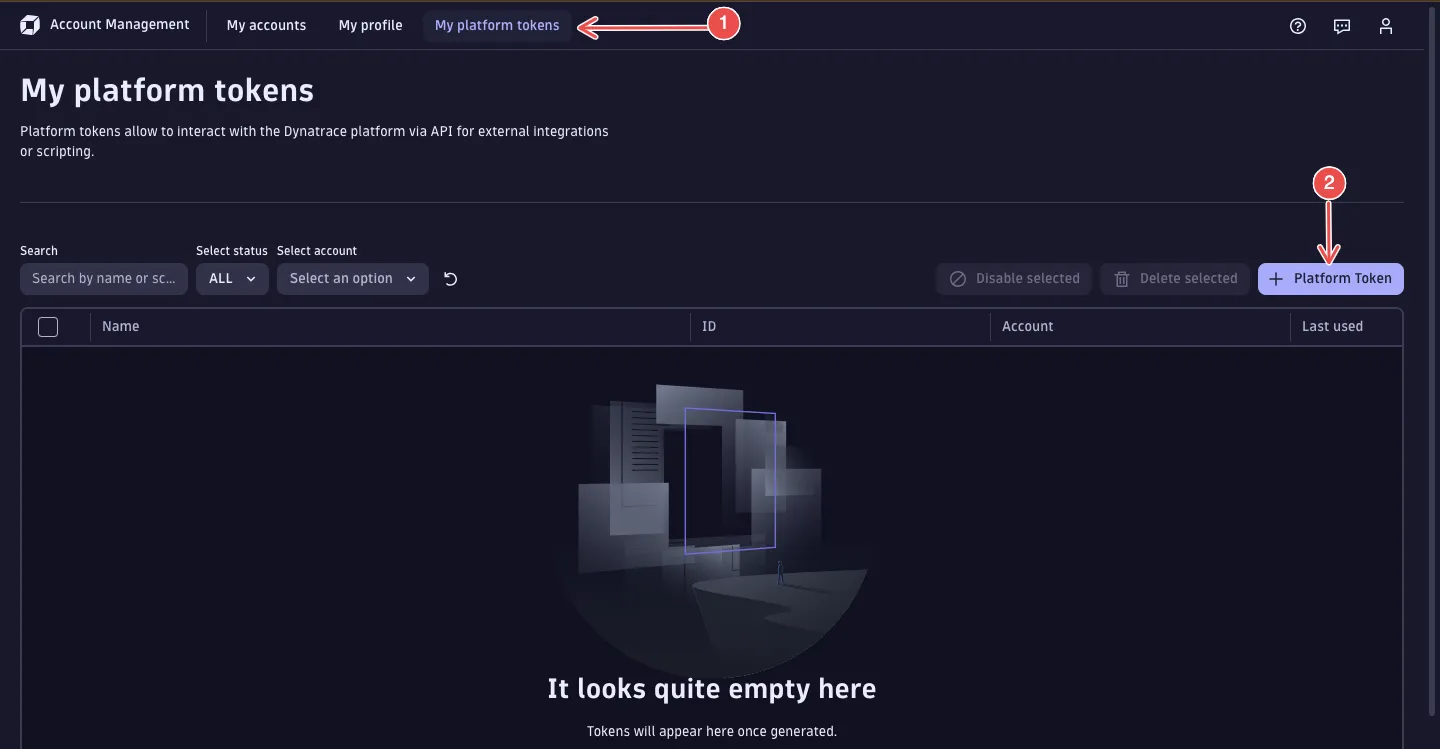
Create a new API key: On the Account managemnt console, navigate to the My platform tokens tab and click on the Platform Token button.
-
Provide API Key details:
-
Give your API key a descriptive name.
-
Select the Never expires checkbox.
-
Choose the account and environment for which you want to create the API key for.
-
Under the token scopes section, select permissions that grant you read access such as storage:logs:read, state:user-app-states:read, etc.
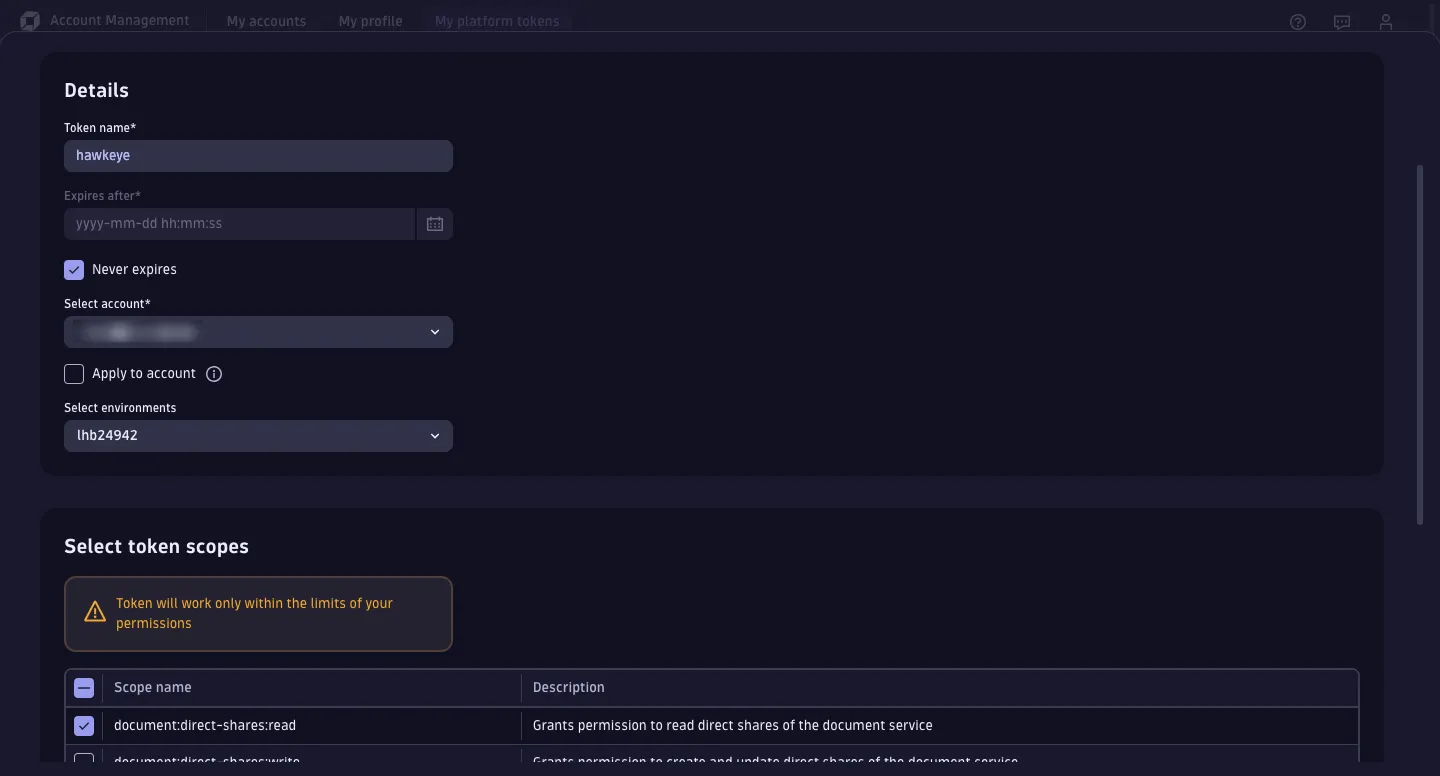
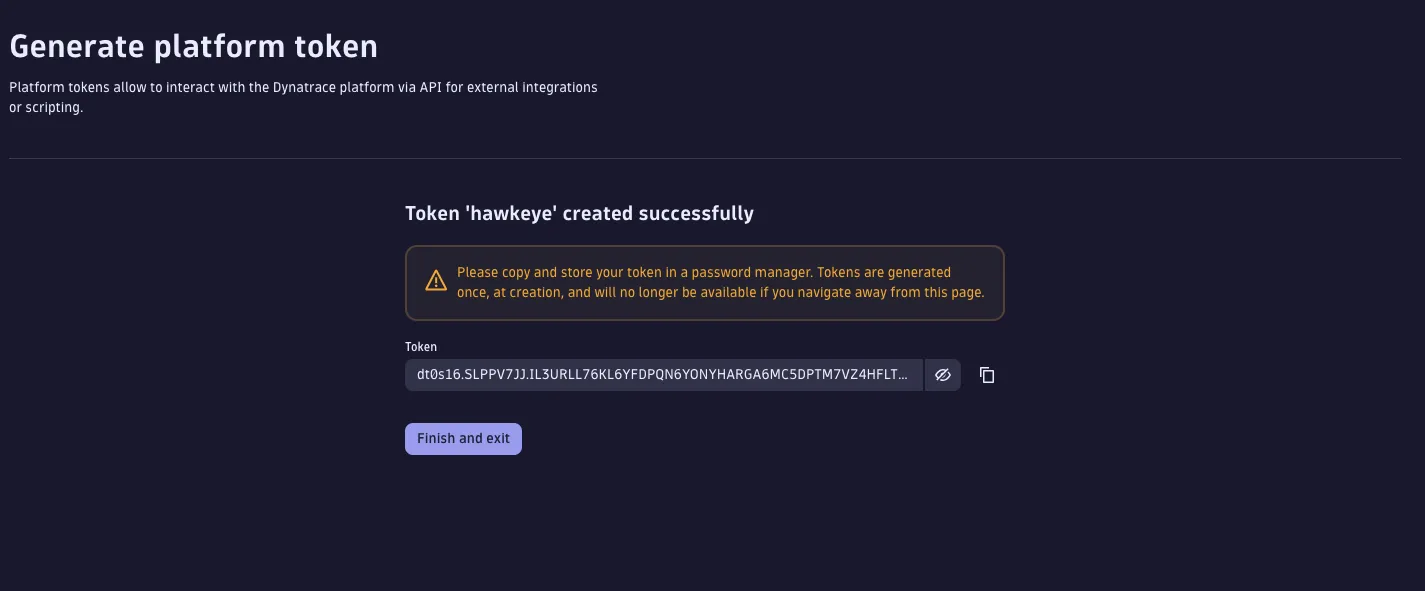
Afterwhich, click on the Generate button to create the API key.
-
-
Save the API key: Copy the API key generated as you won’t be able to view it again later.
-
Find the Environment ID:
In your Dynatrace dashboard, navigate to your name icon at the left bottom corner of your sidebar.
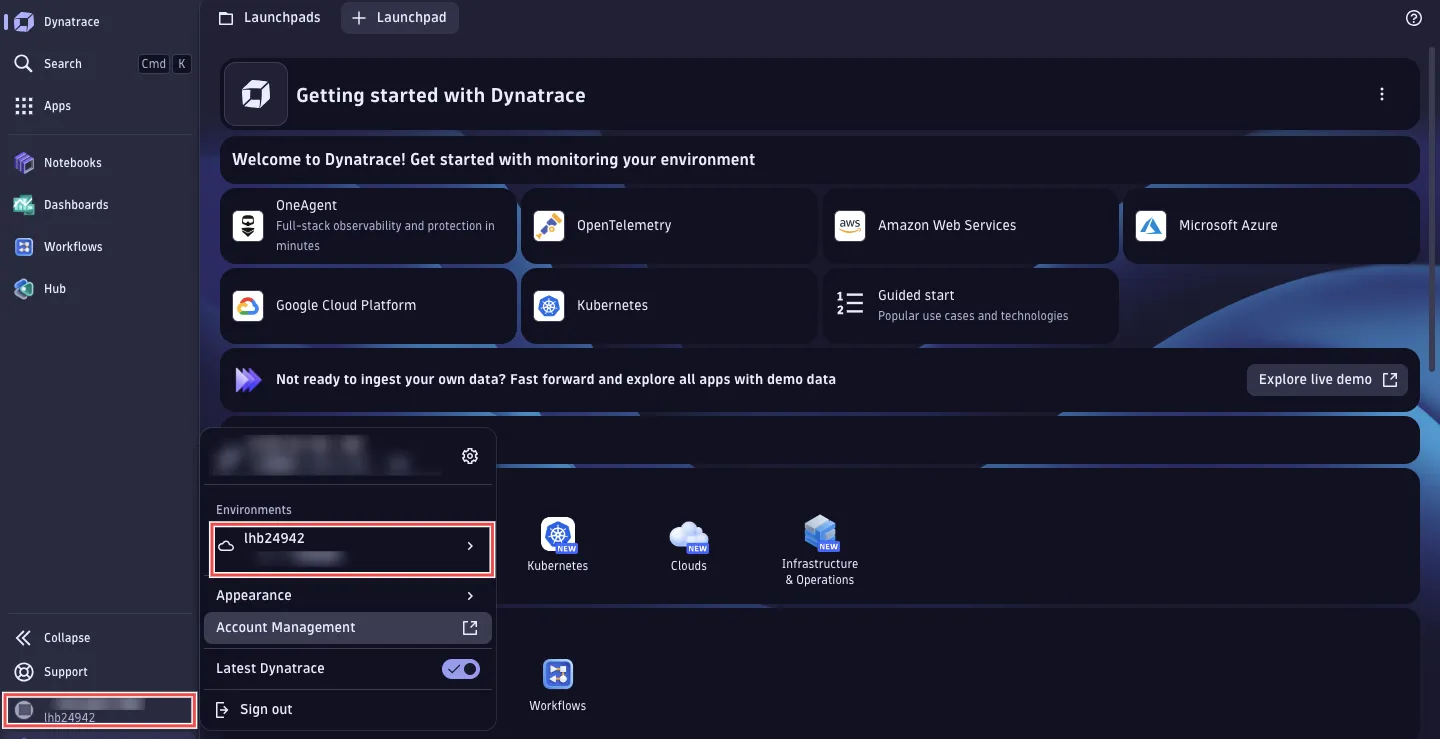
Under the Environments section, copy the alphanumeric phrase above the name of your environment.
Step 2: Add Dynatrace Connection to Hawkeye
Now that you have your API key and Environment ID, configure the Dynatrace connection in Hawkeye.
-
Navigate to the Connections Tab: In the Hawkeye dashboard, go to the Connections section and click New Connection.
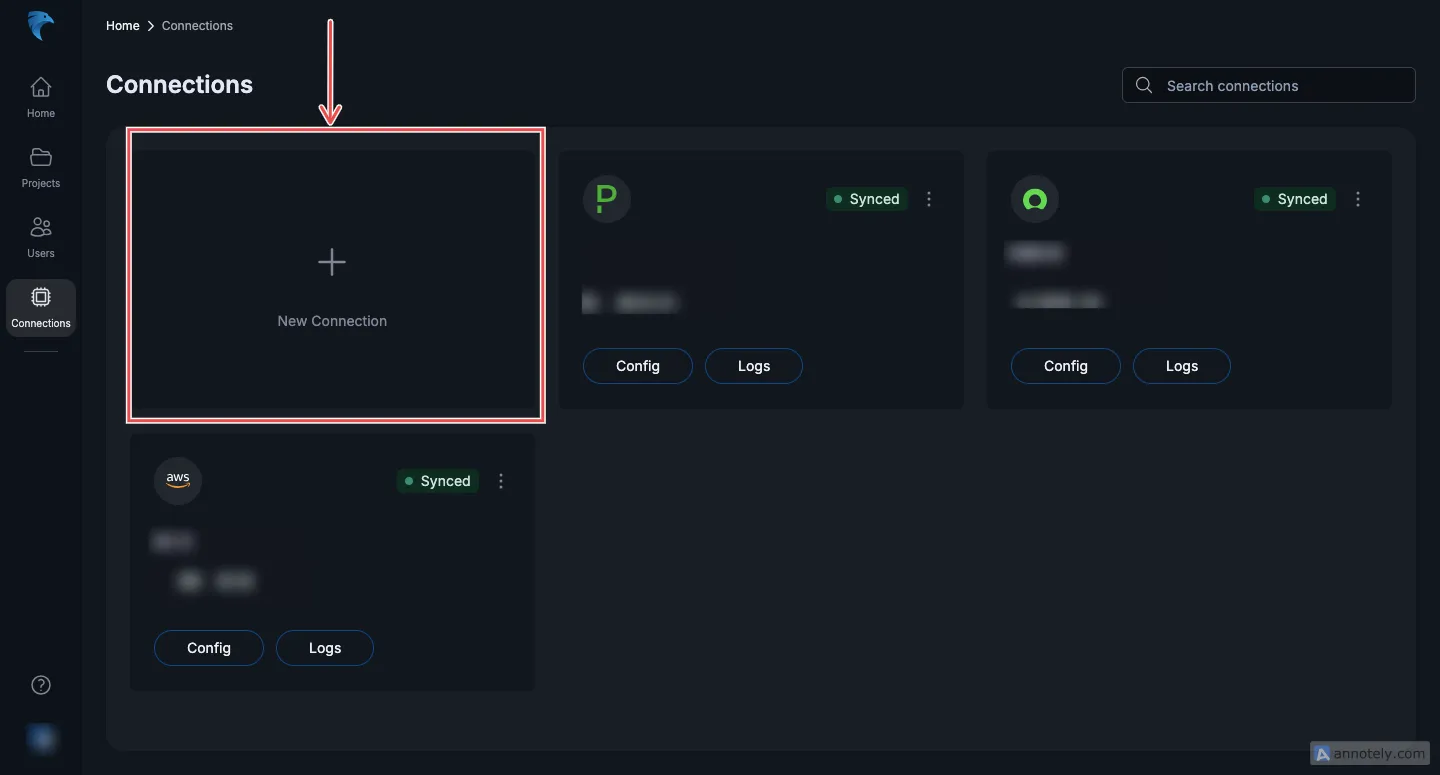
-
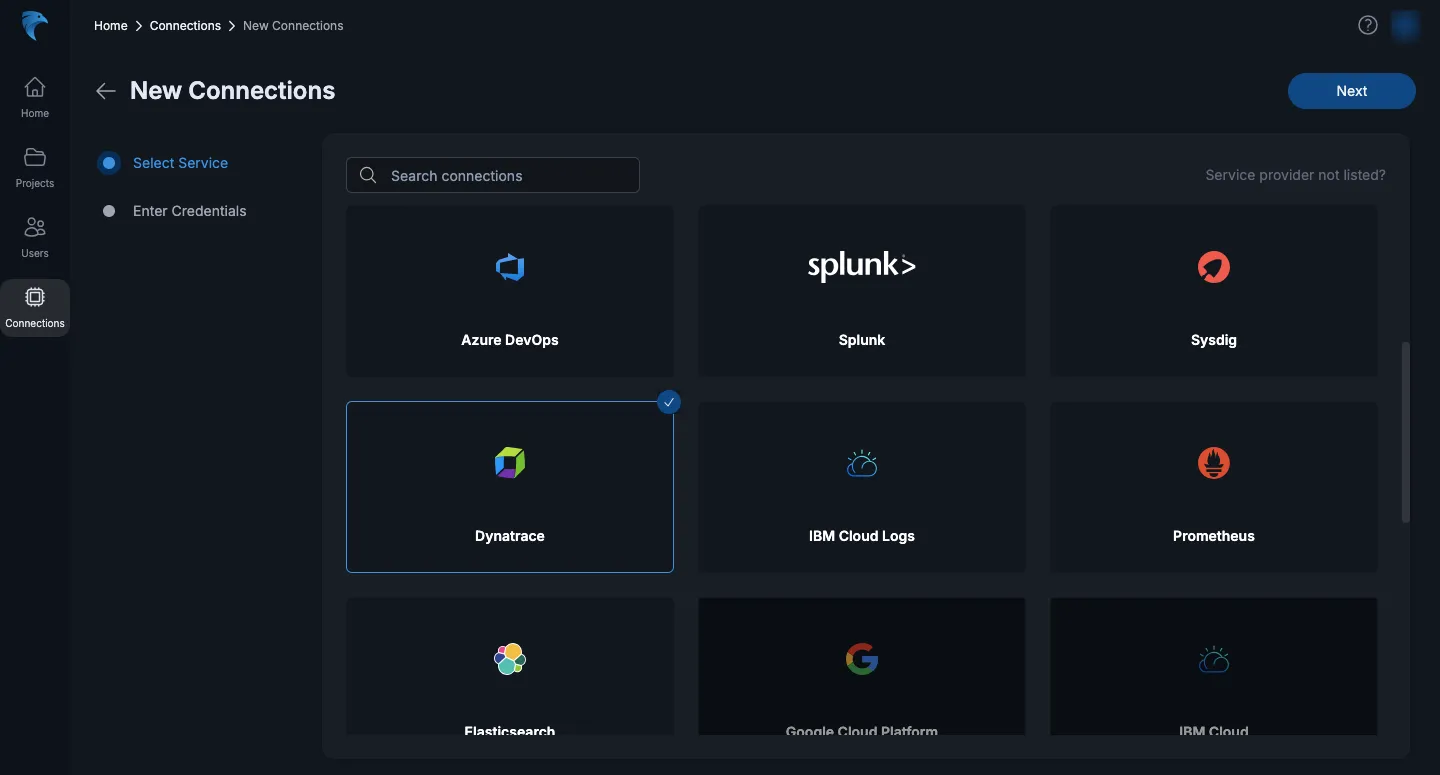
Select Dynatrace: From the list of available integrations, select Dynatrace, and click Next.
-
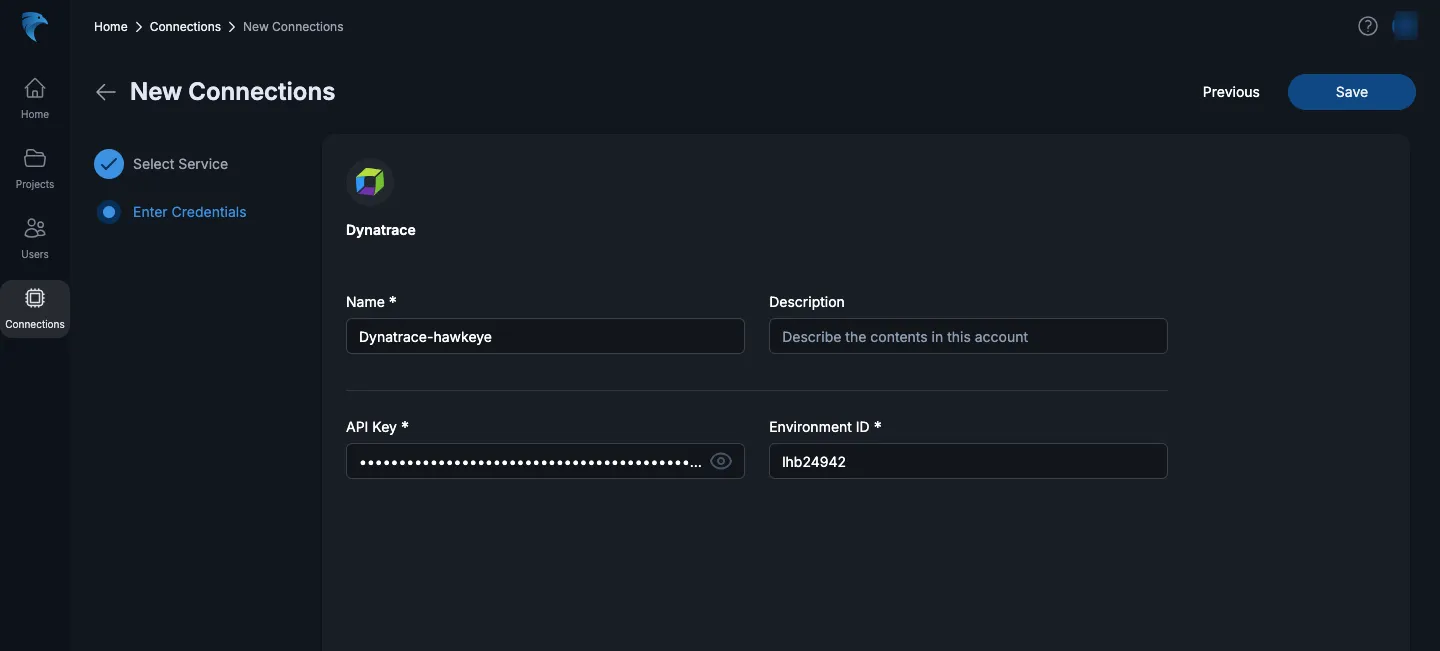
Enter Connection Details: Provide the following information:
-
Name: A name for the connection.
-
Description: A brief description of the integration.
-
API Key: Paste the API key you generated earlier.
-
Environment ID: Enter the Environment ID you retrieved from Dynatrace.
-
-
Verify the Connection: Hawkeye will verify the connection to Dynatrace. Once the verification is complete, the Dynatrace connection card will be visible on your dashboard.